Cook it once
  • Home
  • Privacy Policy
  • Recipes
    • KETO
    • LC
    • WW
  • Tips
  • Contact
Cook it once
  • Home
  • Privacy Policy
  • Recipes
    • KETO
    • LC
    • WW
  • Tips
  • Contact
Category:

General Recipes

General Recipes

Creamy Butter Baked Chicken

by Rebecca September 16, 2022
written by Rebecca

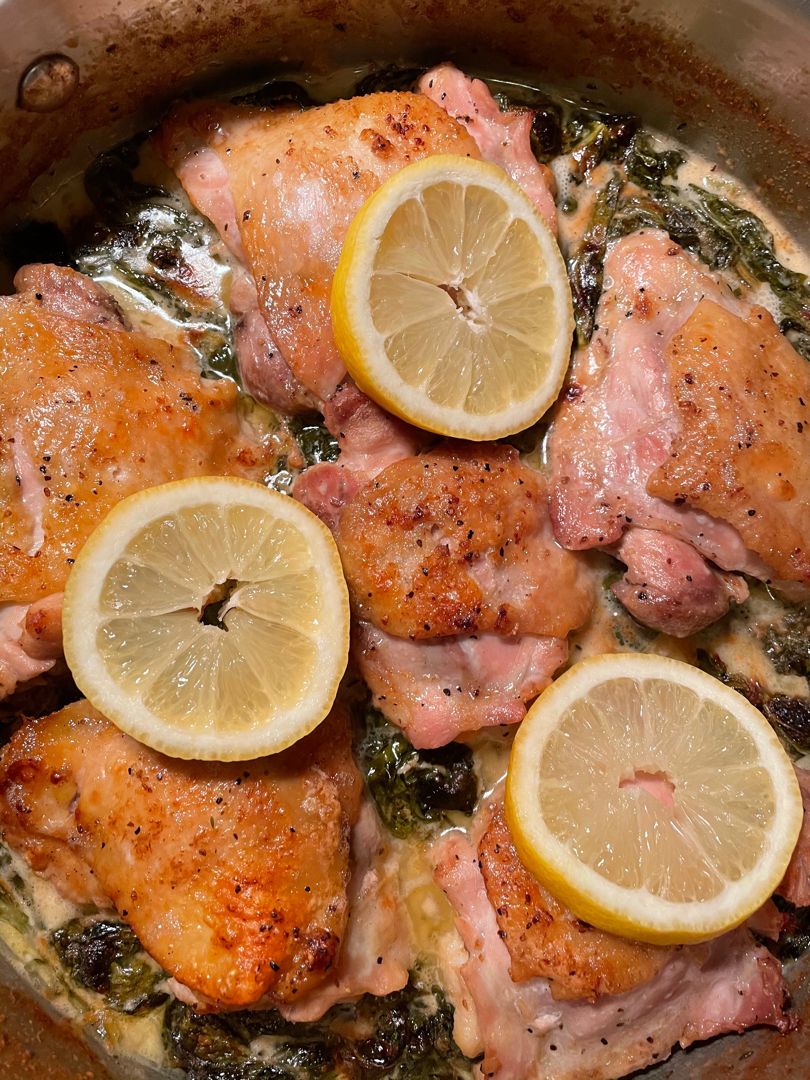
This creamy butter-baked chicken has been one of my ultimate chicken dishes! Mouthwatering, super tender, incredibly juicy chicken that will no doubt knock everyone off their feet! This recipe has been my favorite go-to for years and a staple at home. Serve this no-frills, flavorful chicken dish with potatoes, rice, or your favorite veggies for a full meal perfect for everyone!

Ingredients

1/4 c. butter

4 boneless, skinless chicken breasts

1 c. flour

1 can cream of chicken soup (condensed 10.5 ounces)

1 can evaporated milk (12 ounces)

Lemon wedges (optional)

1 ½ teaspoon salt

1/8 teaspoon freshly ground pepper

How to make Creamy Butter Baked Chicken

Step 1: Prepare the oven. Preheat it to 425 degrees F.

Step 2: In a 9 x 13-inch baking dish, place the butter after cutting them into pieces. Place in the oven and let the butter melt.

Step 3: In the meantime, whisk the flour, salt, and pepper in a bowl. Place about 4 ounces of the evaporated milk in another bowl.

Step 4: Take the pan out of the oven once the butter has melted.

Step 5: In the milk, dip each piece of chicken, then dredge in the seasoned flour and place the breaded chicken in the baking dish.

Step 6: Return the pan to the oven and bake the chicken for about 30 minutes.

Step 7: Meanwhile, whisk the rest of the evaporated milk and the can of soup until well-mixed.

Step 8: After 30 minutes, remove the chicken from the oven. Flip each piece of chicken and pour on top the milk and soup mixture. Resume baking for another 30 minutes until the top of the chicken is golden brown and the sauce has thickened. The chicken is done when its internal temperature reaches 165 degrees F.

Step 9: Before serving, squeeze some lemon juice over the chicken if desired, or serve a slice of lemon along the side. Enjoy!

Notes:

For this recipe, you can swap gluten-free flour with regular free.

You can also use gluten-free cream of chicken soup.

Creamy Butter Baked Chicken

Rebecca This creamy butter-baked chicken has been one of my ultimate chicken dishes! Mouthwatering, super tender, incredibly juicy chicken that will no doubt knock everyone off their feet! This recipe has… General Recipes Creamy Butter Baked Chicken European Print This
Nutrition facts: 200 calories 20 grams fat
Rating: 5.0/5
( 1 voted )

Ingredients

  • 1/4 c. butter
  • 4 boneless, skinless chicken breasts
  • 1 c. flour
  • 1 can cream of chicken soup (condensed 10.5 ounces)
  • 1 can evaporated milk (12 ounces)
  • Lemon wedges (optional)
  • 1 ½ teaspoon salt
  • 1/8 teaspoon freshly ground pepper

Instructions

Step 1: Prepare the oven. Preheat it to 425 degrees F.

Step 2: In a 9 x 13-inch baking dish, place the butter after cutting them into pieces. Place in the oven and let the butter melt.

Step 3: In the meantime, whisk the flour, salt, and pepper in a bowl. Place about 4 ounces of the evaporated milk in another bowl.

Step 4: Take the pan out of the oven once the butter has melted.

Step 5: In the milk, dip each piece of chicken, then dredge in the seasoned flour and place the breaded chicken in the baking dish.

Step 6: Return the pan to the oven and bake the chicken for about 30 minutes.

Step 7: Meanwhile, whisk the rest of the evaporated milk and the can of soup until well-mixed.

Step 8: After 30 minutes, remove the chicken from the oven. Flip each piece of chicken and pour on top the milk and soup mixture. Resume baking for another 30 minutes until the top of the chicken is golden brown and the sauce has thickened. The chicken is done when its internal temperature reaches 165 degrees F.

Step 9: Before serving, squeeze some lemon juice over the chicken if desired, or serve a slice of lemon along the side. Enjoy!

Notes

For this recipe, you can swap gluten-free flour with regular free. You can also use gluten-free cream of chicken soup.
September 16, 2022 0 comment
0 FacebookTwitterPinterestEmail
General Recipes

Philly Cheesesteak Cheesy Bread

by Rebecca September 15, 2022
written by Rebecca

Prep Time: 15 mins | Cook Time: 25 mins | Total Time: 40 mins | Yield: 10 Servings

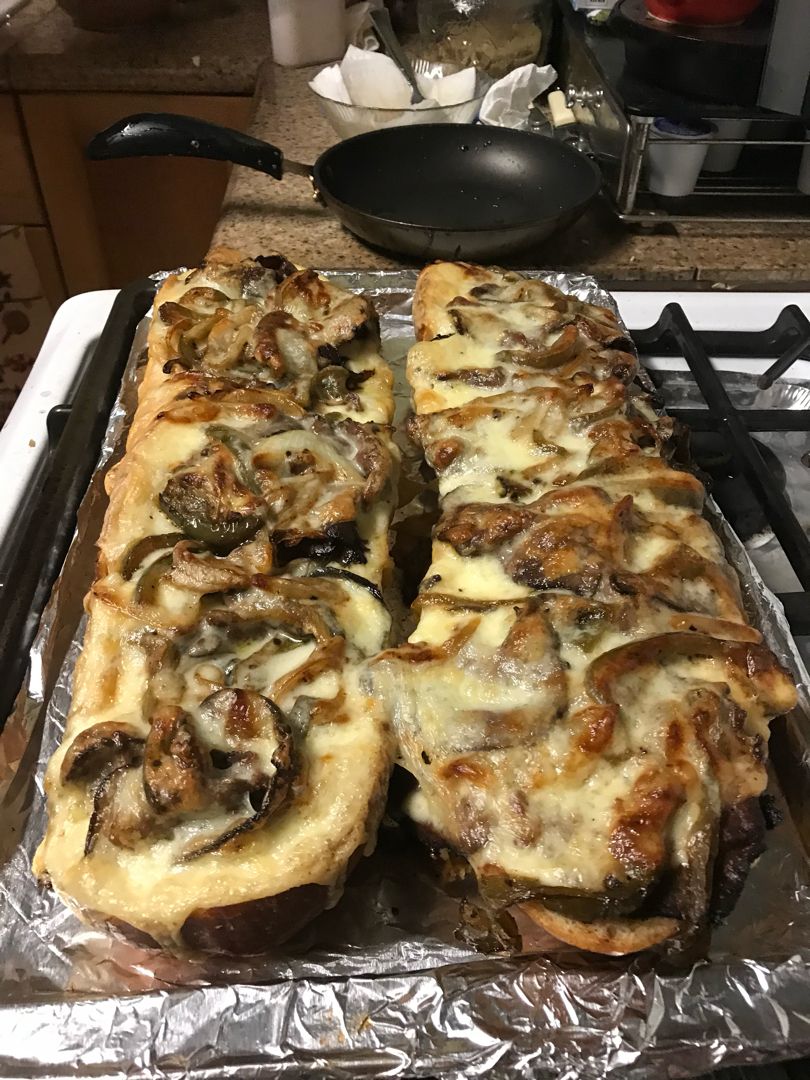
Cheesy, crunchy, and loaded with cheese steak flavor. This Philly Cheesesteak Cheesy Bread with green bell peppers, onions, ribeye, and mushrooms is the best! Easily throw this bread together any time using just a few simple ingredients. Assemble and bake in the oven until the cheese has melted. For an easier and quicker on-the-go meal, you can tightly wrap this Philly Cheesesteak Cheesy Bread in plastic wrap, and keep it in the fridge for up to 3 days. When ready to consume, reheat in the oven at 375 degrees. You can also freeze this for up to 1 to 2 months. Defrost before reheating for 10 to 15 minutes at 375 degrees oven.

Ingredients

1 tbsp canola oil

8 oz. Ribeye Steak, thinly sliced

1 loaf of French bread, cut in half lengthwise

1 tbsp Worcestershire sauce

1 green bell pepper, sliced

1 yellow onion, sliced

2 tbsp butter

4 oz. mushrooms, sliced

1/3 c. mayonnaise

8 oz. Provolone cheese, sliced

1/2 tsp Kosher salt, divided

1/4 tsp coarse ground black pepper, divided

How to make Philly Cheesesteak Cheesy Bread

Step 1: Prepare the oven. Preheat it to 375 degrees.

Step 2: Sprinkle the steak with half of the salt and pepper. Then, drizzle all sides with canola oil.

Step 3: Place the steak in a hot cast-iron skillet over high heat and cook for about 2 minutes, undisturbed.

Step 4: To the skillet, add the Worcestershire sauce and stir.

Step 5: Set the steak aside. In the now empty pan, add the butter along with the green bell peppers, onions, and mushrooms. Season with the remaining salt and pepper. Cook for about 3 to 4 minutes or until the veggies are slightly browned.

Step 6: On both halves of the bread, spread the mayonnaise. Top each half with the provolone cheese, followed by the steak and veggies. Cover the steak and veggies with the remaining cheese.

Step 7: Place in the preheated oven (in the middle rack) and bake for about 15 minutes until browned and the cheese has melted.

Nutrition Facts:

Calories: 336 kcal | Carbohydrates: 25g | Protein: 15g | Fat: 19g | Saturated Fat: 7g | Cholesterol: 38mg | Sodium: 617mg | Potassium: 229mg | Fiber: 1g | Sugar: 2g | Vitamin A: 315IU | Vitamin C: 10.8mg | Calcium: 196mg | Iron: 2.2mg

Philly Cheesesteak Cheesy Bread

Rebecca Prep Time: 15 mins | Cook Time: 25 mins | Total Time: 40 mins | Yield: 10 Servings Cheesy, crunchy, and loaded with cheese steak flavor. This Philly Cheesesteak Cheesy… General Recipes Philly Cheesesteak Cheesy Bread European Print This
Serves: 10 Prep Time: 15 mins Cooking Time: 25 mins 25 mins
Nutrition facts: 336 calories 19 fat
Rating: 5.0/5
( 1 voted )

Ingredients

  • 1 tbsp canola oil
  • 8 oz. Ribeye Steak, thinly sliced
  • 1 loaf of French bread, cut in half lengthwise
  • 1 tbsp Worcestershire sauce
  • 1 green bell pepper, sliced
  • 1 yellow onion, sliced
  • 2 tbsp butter
  • 4 oz. mushrooms, sliced
  • 1/3 c. mayonnaise
  • 8 oz. Provolone cheese, sliced
  • 1/2 tsp Kosher salt, divided
  • 1/4 tsp coarse ground black pepper, divided

Instructions

Step 1: Prepare the oven. Preheat it to 375 degrees.

Step 2: Sprinkle the steak with half of the salt and pepper. Then, drizzle all sides with canola oil.

Step 3: Place the steak in a hot cast-iron skillet over high heat and cook for about 2 minutes, undisturbed.

Step 4: To the skillet, add the Worcestershire sauce and stir.

Step 5: Set the steak aside. In the now empty pan, add the butter along with the green bell peppers, onions, and mushrooms. Season with the remaining salt and pepper. Cook for about 3 to 4 minutes or until the veggies are slightly browned.

Step 6: On both halves of the bread, spread the mayonnaise. Top each half with the provolone cheese, followed by the steak and veggies. Cover the steak and veggies with the remaining cheese.

Step 7: Place in the preheated oven (in the middle rack) and bake for about 15 minutes until browned and the cheese has melted.

September 15, 2022 0 comment
0 FacebookTwitterPinterestEmail
General Recipes

Famous Woolworth Icebox Cheesecake Recipe

by Rebecca September 15, 2022
written by Rebecca

Prep time: 15 mins | Chilling time: 12 hrs 30 mins | Total time: 12 hrs 45 mins | Servings: 12

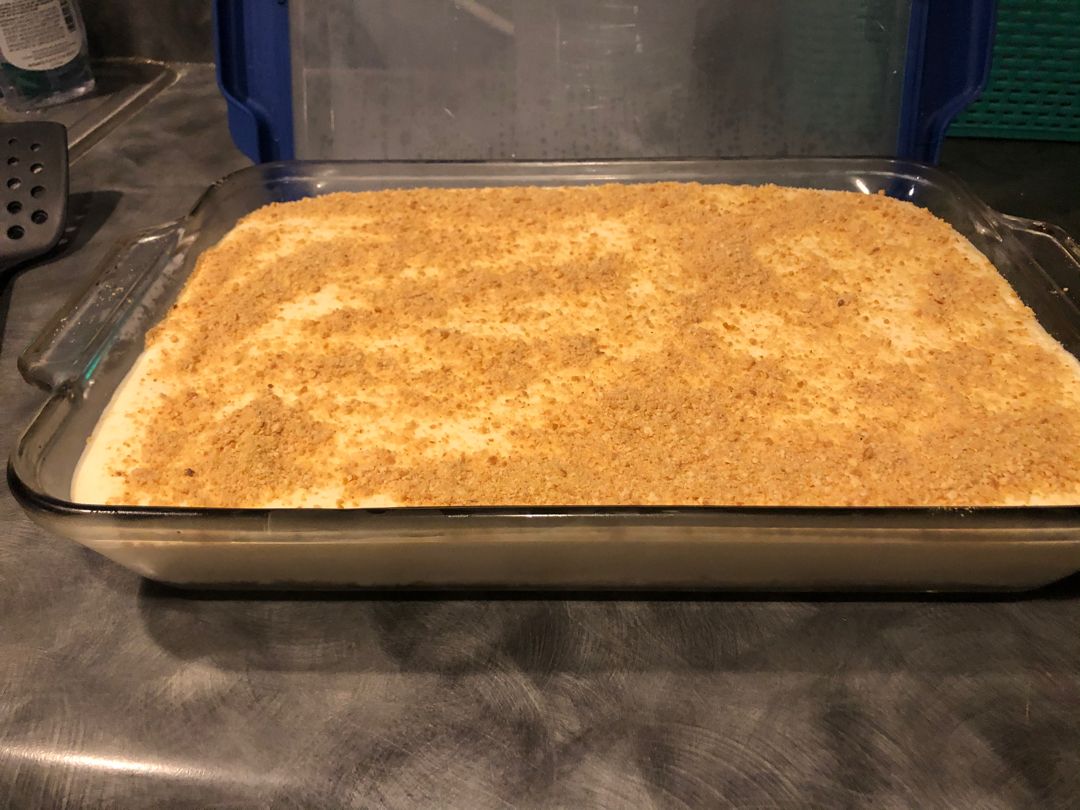
Lightly, fluffy, and the best no-bake dessert! This Woolworth Icebox Cheesecake is super easy to make. This has a dash of lemon flavor with a graham cracker crust. A favorite at my house and the best dessert to serve on any occasion!

Ingredients

CRUST:

½ c. butter, melted

2 c graham cracker crumbs

1 tbsp granulated sugar

FILLING:

1 c. granulated sugar

1 block of cream cheese, room temperature

1 box lemon jello mix

½ c cold water, about 50 degrees F.

½ c boiling water, about 212 degrees F.

1 can evaporated milk, chilled

2 tsp vanilla

How to make Famous Woolworth Icebox Cheesecake

Step 1: In the freezer, place the bowl of a stand mixer and the whisk attachment. Let them chill for at least 30 minutes.

CRUST:

Step 2: Using nonstick cooking spray, lightly grease a baking dish. Into a medium bowl, place the graham crackers and sugar. Mix well until combined, then add the melted butter. Mix again until well blended.

Step 3: Set aside about 1/4 c of the graham cracker mixture. Into the bottom of the prepared baking dish, firmly press the rest of the crumbs. Set aside.

FILLING:

Step 4: In a medium bowl, place the cream cheese and sugar. Mix using a hand mixer. Add the vanilla and mix again for about 2 to 3 minutes or until well combined. Set aside.

Step 5: In a large bowl, add the jello mix and boiling water. Mix well until the jello has dissolved. Pour in the cold water and put the mixture in the fridge for a couple of minutes.

Step 6: To a stand mixer, place the chilled bowl and whisk attachment. To the chilled bowl, add the evaporated milk. Mix for about 5 minutes on high or until soft peaks form. Then, add the jello mixture and mix again for 30 seconds before adding the cream cheese mixture. Mix well.

Step 7: Into the prepared pan, transfer the mixture, and top with the reserved graham cracker mixture. Place in the fridge overnight and serve the next day.

Nutritional Facts:

Calories 91.3 Kcal, Total Fat – 3.7 g, Saturated Fat – 2.1 g, Cholesterol – 12 mg, Sodium – 45.9 mg, Total Carbohydrate – 14.2 g, Dietary Fiber – 0.2 g, Sugars – 13.6 g, Protein – 1.1 g, Calcium – 27.6 mg, Iron – 0.1 mg, Vitamin C – 3.3 mg, Thiamin – 0 mg

Famous Woolworth Icebox Cheesecake Recipe

Rebecca Prep time: 15 mins | Chilling time: 12 hrs 30 mins | Total time: 12 hrs 45 mins | Servings: 12 Lightly, fluffy, and the best no-bake dessert! This Woolworth… General Recipes Famous Woolworth Icebox Cheesecake Recipe European Print This
Serves: 12 Prep Time: 15 mins
Nutrition facts: 91.3 calories 3.7 fat
Rating: 4.0/5
( 2 voted )

Ingredients

  • CRUST:
  • ½ c. butter, melted
  • 2 c graham cracker crumbs
  • 1 tbsp granulated sugar
  • FILLING:
  • 1 c. granulated sugar
  • 1 block of cream cheese, room temperature
  • 1 box lemon jello mix
  • ½ c cold water, about 50 degrees F.
  • ½ c boiling water, about 212 degrees F.
  • 1 can evaporated milk, chilled
  • 2 tsp vanilla

Instructions

Step 1: In the freezer, place the bowl of a stand mixer and the whisk attachment. Let them chill for at least 30 minutes.

CRUST:

Step 2: Using nonstick cooking spray, lightly grease a baking dish. Into a medium bowl, place the graham crackers and sugar. Mix well until combined, then add the melted butter. Mix again until well blended.

Step 3: Set aside about 1/4 c of the graham cracker mixture. Into the bottom of the prepared baking dish, firmly press the rest of the crumbs. Set aside.

FILLING:

Step 4: In a medium bowl, place the cream cheese and sugar. Mix using a hand mixer. Add the vanilla and mix again for about 2 to 3 minutes or until well combined. Set aside.

Step 5: In a large bowl, add the jello mix and boiling water. Mix well until the jello has dissolved. Pour in the cold water and put the mixture in the fridge for a couple of minutes.

Step 6: To a stand mixer, place the chilled bowl and whisk attachment. To the chilled bowl, add the evaporated milk. Mix for about 5 minutes on high or until soft peaks form. Then, add the jello mixture and mix again for 30 seconds before adding the cream cheese mixture. Mix well.

Step 7: Into the prepared pan, transfer the mixture, and top with the reserved graham cracker mixture. Place in the fridge overnight and serve the next day.

September 15, 2022 0 comment
0 FacebookTwitterPinterestEmail
General Recipes

Grandma’s Lemon Meringue Pie

by Rebecca September 15, 2022
written by Rebecca

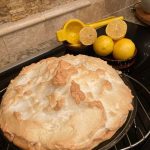
Pretty and delicious pie just like how our Grandma made them. This Lemon Meringue Pie is a sweet pie with tart lemony filling in a flaky crust. A decadent, mouthwatering pie with a beautiful meringue.

Ingredients

Pastry:

100 grams of cold butter, cut into small pieces

175 grams of plain flour

1 egg yolk

1 tablespoon icing sugar

Filling:

100 grams of golden caster sugar

2-level tablespoon cornflour

3 egg yolks and 1 whole egg

2 large lemons, zested

125ml fresh lemon juice (from 2-3 lemons)

85 grams butter, cut into pieces

1 small orange, juiced

Meringue:

200 grams of golden caster sugar

2 teaspoons cornflour

4 egg whites, room temperature

How to make Grandma’s Lemon Meringue Pie

Step 1: For the pastry, place the plain flour in a food processor along with the butter, icing sugar, egg yolk, and 1 tbsp cold water. Blend until just combined.

Step 2: On a floured surface, place the pastry. Knead the pastry. Roll it out, line, and neatly trim the edges. Into the flutes, press the pastry and prick the base using a fork. Line the pastry with foil and set aside for 30 minutes to an hour.

Step 3: Into the oven, place the baking sheet. Set the oven to 200 degrees C or 180 degrees C or gas 6. Then, bake the pastry case filled with dry beans for about 15 minutes. Take out the foil and continue to bake the pastry for an additional 5 to 8 minutes. Leave the pastry inside the oven.

Step 4: In the meantime, ready the filling. In a saucepan, whisk the cornflour, golden caster sugar, and lemon zest. Slowly stir in the lemon juice. Cook over medium heat while stirring until smooth and thick.

Step 5: Take the pan off the heat once the mixture bubbles. Then, add the butter and stir until melted. Next, add the egg yolk and the whole egg. Stir well. Return the pan to the stove over medium heat. Keep stirring for a couple of minutes until the mixture has thickened and bubbled. Set the filling aside.

Step 6: Place the egg whites in a bowl. Beat until soft peaks form. Add 100 grams of the golden caster sugar. Add the sugar by spoonfuls, whisking every after addition. Do not overmix. Then, stir in the cornflour followed by the rest of the 100 grams of sugar until the mixture has thickened and smooth.

Step 7: Quickly reheat the filling, then pour it into the pastry case. Around the edge of the filling, place spoonfuls of meringue. Spread the meringue until it touches just the pastry. Into the center, pile the remaining meringue, spreading it until it touches the surface of the hot filling.

Step 8: Place the meringue back into the oven and bake for 18 to 20 minutes or until crisp and slightly colored. Remove from the oven when done and allow the pie to sit for about 30 minutes in the tin. Take the pie out of the tin and set it aside for at least 30 minutes to an hour.

Step 9: Slice and serve. Enjoy!

Tips:

For this recipe, you can use a 23 x 2.5 cm loose-bottom fluted flan tin.

Press the pastry into the flutes while cooking.

Note that if you bake the pastry 1 day ahead the pie will take about 40 to 15 minutes to prep.

Grandma’s Lemon Meringue Pie

Rebecca Pretty and delicious pie just like how our Grandma made them. This Lemon Meringue Pie is a sweet pie with tart lemony filling in a flaky crust. A decadent, mouthwatering… General Recipes Grandma’s Lemon Meringue Pie European Print This
Nutrition facts: 200 calories 20 grams fat
Rating: 5.0/5
( 1 voted )

Ingredients

  • Pastry:
  • 100 grams of cold butter, cut into small pieces
  • 175 grams of plain flour
  • 1 egg yolk
  • 1 tablespoon icing sugar
  • Filling:
  • 100 grams of golden caster sugar
  • 2-level tablespoon cornflour
  • 3 egg yolks and 1 whole egg
  • 2 large lemons, zested
  • 125ml fresh lemon juice (from 2-3 lemons)
  • 85 grams butter, cut into pieces
  • 1 small orange, juiced
  • Meringue:
  • 200 grams of golden caster sugar
  • 2 teaspoons cornflour
  • 4 egg whites, room temperature

Instructions

Step 1: For the pastry, place the plain flour in a food processor along with the butter, icing sugar, egg yolk, and 1 tbsp cold water. Blend until just combined.

Step 2: On a floured surface, place the pastry. Knead the pastry. Roll it out, line, and neatly trim the edges. Into the flutes, press the pastry and prick the base using a fork. Line the pastry with foil and set aside for 30 minutes to an hour.

Step 3: Into the oven, place the baking sheet. Set the oven to 200 degrees C or 180 degrees C or gas 6. Then, bake the pastry case filled with dry beans for about 15 minutes. Take out the foil and continue to bake the pastry for an additional 5 to 8 minutes. Leave the pastry inside the oven.

Step 4: In the meantime, ready the filling. In a saucepan, whisk the cornflour, golden caster sugar, and lemon zest. Slowly stir in the lemon juice. Cook over medium heat while stirring until smooth and thick.

Step 5: Take the pan off the heat once the mixture bubbles. Then, add the butter and stir until melted. Next, add the egg yolk and the whole egg. Stir well. Return the pan to the stove over medium heat. Keep stirring for a couple of minutes until the mixture has thickened and bubbled. Set the filling aside.

Step 6: Place the egg whites in a bowl. Beat until soft peaks form. Add 100 grams of the golden caster sugar. Add the sugar by spoonfuls, whisking every after addition. Do not overmix. Then, stir in the cornflour followed by the rest of the 100 grams of sugar until the mixture has thickened and smooth.

Step 7: Quickly reheat the filling, then pour it into the pastry case. Around the edge of the filling, place spoonfuls of meringue. Spread the meringue until it touches just the pastry. Into the center, pile the remaining meringue, spreading it until it touches the surface of the hot filling.

Step 8: Place the meringue back into the oven and bake for 18 to 20 minutes or until crisp and slightly colored. Remove from the oven when done and allow the pie to sit for about 30 minutes in the tin. Take the pie out of the tin and set it aside for at least 30 minutes to an hour.

Step 9: Slice and serve. Enjoy!

Notes

For this recipe, you can use a 23 x 2.5 cm loose-bottom fluted flan tin. Press the pastry into the flutes while cooking. Note that if you bake the pastry 1 day ahead the pie will take about 40 to 15 minutes to prep.

September 15, 2022 0 comment
0 FacebookTwitterPinterestEmail
General Recipes

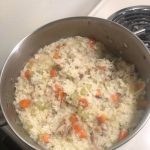
Ranch Chicken Rice Soup

by Rebecca September 15, 2022
written by Rebecca

Cook time: 30 mins | Servings: 8

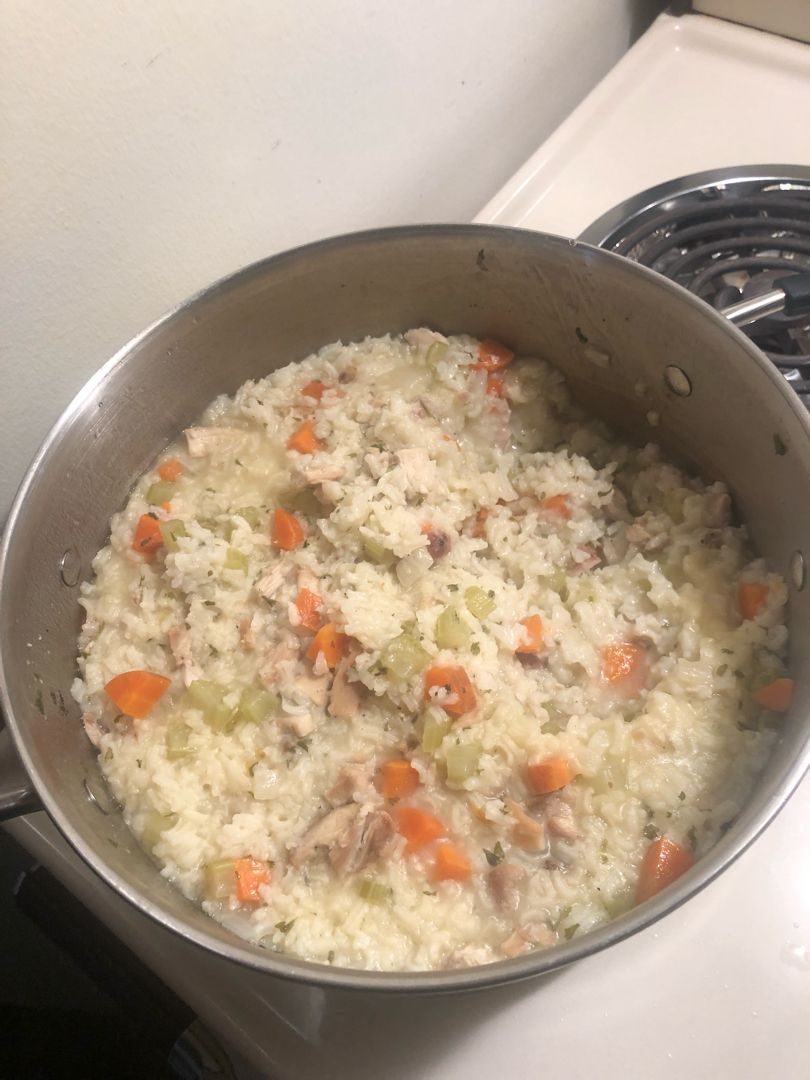
This Ranch Chicken and Rice Soup is one of the most underrated dishes. Chicken and rice is a famous combo that has been tested over time. This recipe gives them justice. This soup is super hearty, filling, and delicious. Not to mention easy to make using basic pantry essentials. This soup is extra flavorful, thanks to the seasonings added to the veggies, and a full packet of dry ranch seasoning kicks things up to the top! Add the chicken and rice, let the soup simmer, and viola! You have the ultimate dinner your family could ever ask for!

INGREDIENTS

1 onion, finely chopped

3 c. cooked chicken, shredded

6 c. low-sodium chicken broth

2 ribs celery, diced

2 carrots, peeled and diced

1/2 tsp garlic powder

1 (10.75 ounces) can condense cheddar cheese or cream of chicken soup

1 (1.0 ounce) package of dry ranch seasoning mix

1 1/2 tsp Italian seasoning

1/2 tsp paprika

2/3 c. uncooked white rice

2 tbsp extra-virgin olive oil

kosher salt and freshly ground pepper, to taste

real bacon bits, garnish, optional

How to make Ranch Chicken Rice Soup

Step 1: In a large stock pot or Dutch oven, heat the olive oil over medium-high heat. To the hot oil, add the onion, carrot, and celery. Saute the veggies for about 8 to 10 minutes until tender. Then, season with salt, pepper, Italian seasoning, ranch seasoning, and paprika.

Step 2: To the pot with the veggies, add the garlic and continue to cook for 1 to 2 minutes more or until aromatic. Next, add the chicken broth and condensed soup. Stir well.

Step 3: Add the chicken and rice. Stir and bring everything to a boil. Once boiling, decrease the heat to a simmer. Put the lid on and cook for an additional 15 to 20 minutes or until the rice is completely cooked.

Step 4: Lastly, add the bacon bits and adjust the seasoning according to taste.

Step 5: Remove from the heat when done and ladle the soup into serving bowls and serve immediately. Enjoy!

Ranch Chicken Rice Soup

Rebecca Cook time: 30 mins | Servings: 8 This Ranch Chicken and Rice Soup is one of the most underrated dishes. Chicken and rice is a famous combo that has been… General Recipes Ranch Chicken Rice Soup European Print This
Serves: 8 Cooking Time: 30 mins 30 mins
Nutrition facts: 200 calories 20 grams fat
Rating: 4.5/5
( 2 voted )

Ingredients

  • 1 onion, finely chopped
  • 3 c. cooked chicken, shredded
  • 6 c. low-sodium chicken broth
  • 2 ribs celery, diced
  • 2 carrots, peeled and diced
  • 1/2 tsp garlic powder
  • 1 (10.75 ounces) can condense cheddar cheese or cream of chicken soup
  • 1 (1.0 ounce) package of dry ranch seasoning mix
  • 1 1/2 tsp Italian seasoning
  • 1/2 tsp paprika
  • 2/3 c. uncooked white rice
  • 2 tbsp extra-virgin olive oil
  • kosher salt and freshly ground pepper, to taste
  • real bacon bits, garnish, optional

Instructions

Step 1: In a large stock pot or Dutch oven, heat the olive oil over medium-high heat. To the hot oil, add the onion, carrot, and celery. Saute the veggies for about 8 to 10 minutes until tender. Then, season with salt, pepper, Italian seasoning, ranch seasoning, and paprika.

Step 2: To the pot with the veggies, add the garlic and continue to cook for 1 to 2 minutes more or until aromatic. Next, add the chicken broth and condensed soup. Stir well.

Step 3: Add the chicken and rice. Stir and bring everything to a boil. Once boiling, decrease the heat to a simmer. Put the lid on and cook for an additional 15 to 20 minutes or until the rice is completely cooked.

Step 4: Lastly, add the bacon bits and adjust the seasoning according to taste.

Step 5: Remove from the heat when done and ladle the soup into serving bowls and serve immediately. Enjoy!

September 15, 2022 0 comment
0 FacebookTwitterPinterestEmail
General Recipes

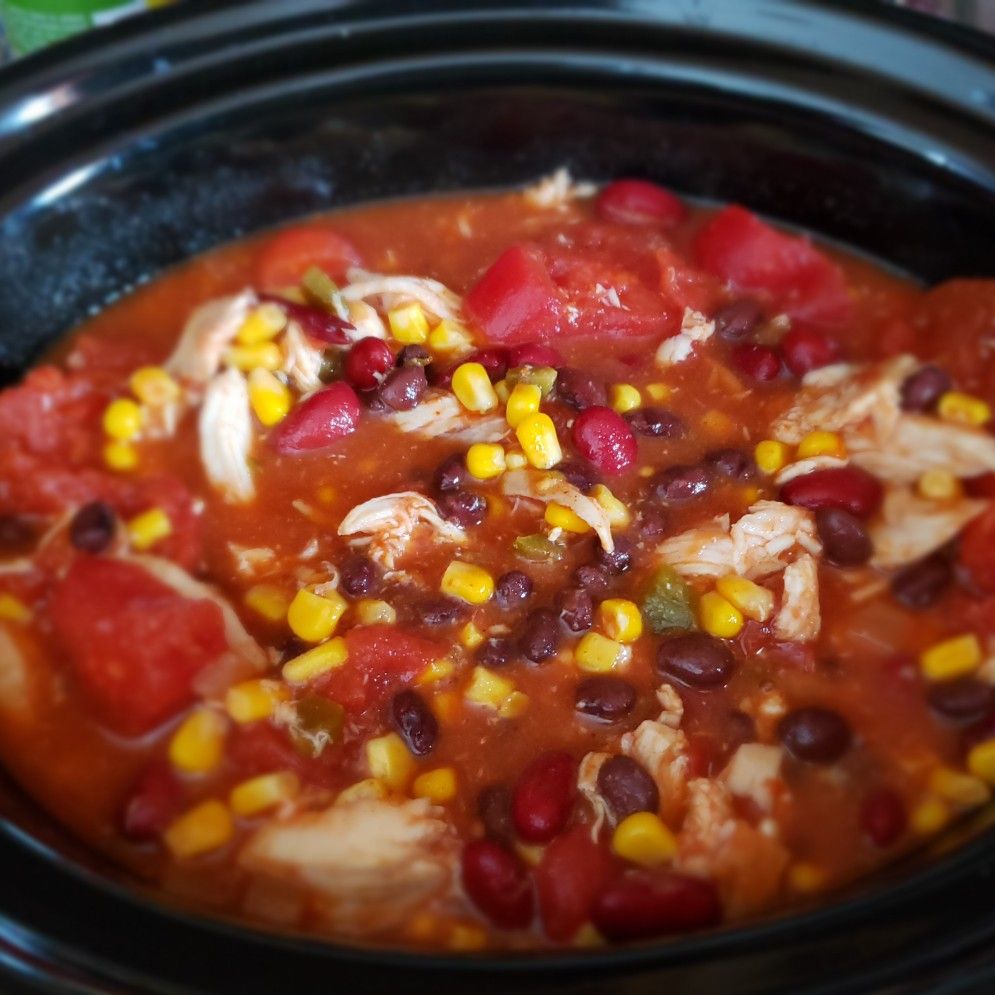
Slow Cooker Taco Soup

by Rebecca September 15, 2022
written by Rebecca

Cook time: Up to 8 hrs | Servings: 8

Slow Cooker Taco Soup has been one of my ultimate favorites. It is made with simple ingredients that are easy to find. After browning the ground beef on the stove, throw all the ingredients in your slow cooker and set to cook. After a couple of hours, go home to a very comforting, filling, and delicious dinner packed with mouthwatering flavors!

This is one of the easiest slow cooker recipes. Ready the soup in the morning and have flavor-packed comfort food at the end of the day. Serve this with some crusty bread on the side, and top the soup with optional garnish such as tortilla chips, cheddar cheese, and sour cream for an extra layer of goodness!

I love how modifiable this recipe is. There are no rules on what beans to add to this slow cooker taco soup. You are welcome to use pinto beans, kidney beans, etc. This Taco soup is super good, flexible, and a great option for busy days.

Ingredients

1 onion, chopped

1 lb ground beef

1 (15 oz) can of kidney beans with liquid

1 (16 oz) can of chili beans, with liquid

1 (15 oz) can of whole kernel corn, with liquid

2 c. water

1 (8 oz) can of tomato sauce

2 (14.5 oz) cans of peeled and diced tomatoes

1 (1.25 oz) package of taco seasoning mix

1 (4 oz) can of diced green chili peppers

How to make Slow Cooker Taco Soup

Step 1: In a skillet, cook the ground beef over medium heat until no longer pink. Drain when done.

Step 2: Into a slow cooker, place the ground beef, onion, chili beans, kidney beans, corn, tomato sauce, water, diced tomatoes, green chile peppers, and taco seasoning mix. Stir well.

Step 3: Set to cook on low for 8 hours or until done.

Step 4: Serve the Taco Soup immediately. Enjoy!

Tip:

Feel free to adjust the amount of chili pepper according to your liking.

Slow Cooker Taco Soup

Rebecca Cook time: Up to 8 hrs | Servings: 8 Slow Cooker Taco Soup has been one of my ultimate favorites. It is made with simple ingredients that are easy to… General Recipes Slow Cooker Taco Soup European Print This
Serves: 8 Cooking Time: 8 hrs 8 hrs
Nutrition facts: 200 calories 20 grams fat
Rating: 5.0/5
( 1 voted )

Ingredients

  • 1 onion, chopped
  • 1 lb ground beef
  • 1 (15 oz) can of kidney beans with liquid
  • 1 (16 oz) can of chili beans, with liquid
  • 1 (15 oz) can of whole kernel corn, with liquid
  • 2 c. water
  • 1 (8 oz) can of tomato sauce
  • 2 (14.5 oz) cans of peeled and diced tomatoes
  • 1 (1.25 oz) package of taco seasoning mix
  • 1 (4 oz) can of diced green chili peppers

Instructions

Step 1: In a skillet, cook the ground beef over medium heat until no longer pink. Drain when done.

Step 2: Into a slow cooker, place the ground beef, onion, chili beans, kidney beans, corn, tomato sauce, water, diced tomatoes, green chile peppers, and taco seasoning mix. Stir well.

Step 3: Set to cook on low for 8 hours or until done.

Step 4: Serve the Taco Soup immediately. Enjoy!

Notes

Feel free to adjust the amount of chili pepper according to your liking.

September 15, 2022 0 comment
0 FacebookTwitterPinterestEmail
General Recipes

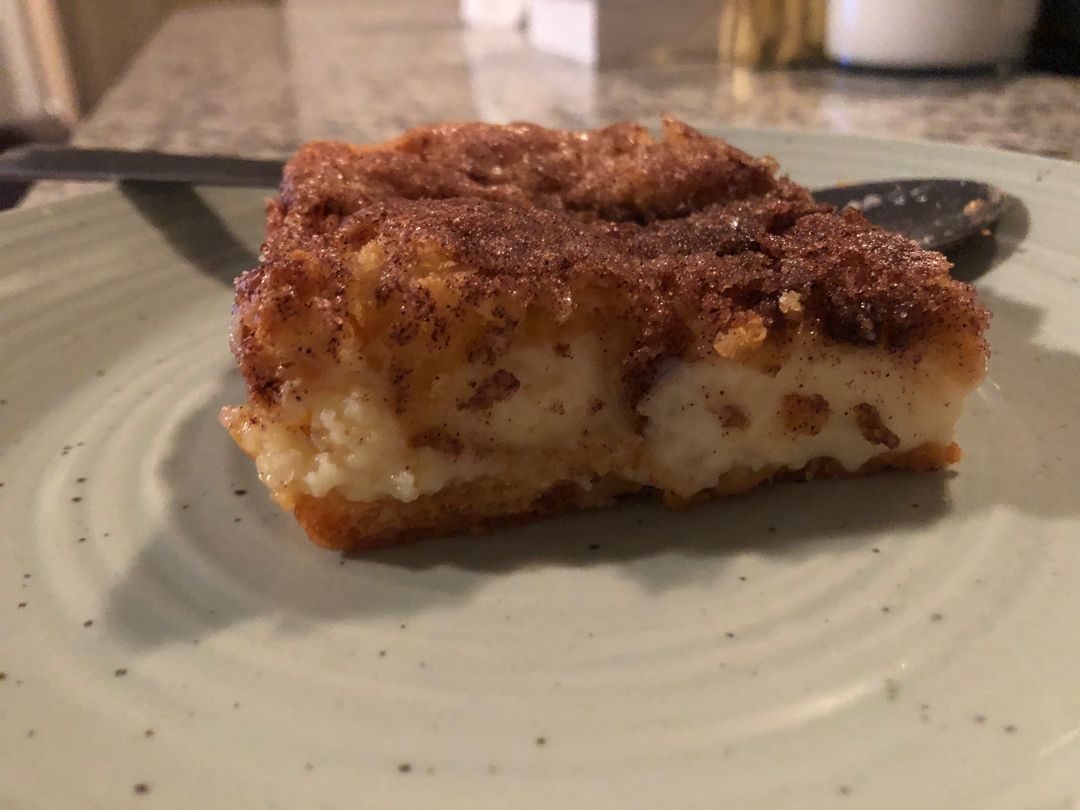
Cheesecake Crescent Rolls

by Rebecca September 15, 2022
written by Rebecca

Prep time: 10 mins | Cook time: 30 mins | Serves: 8

These Cheesecake Crescent Rolls are so easy to whip up and guarantee to always be the star of the show. It is excellent for potlucks, holiday brunches, or even as an overnight company. This has been one of my family’s ultimate favorites for years! These Cheesecake Crescent Rolls are crazy good, I’m sure to be making this over and over again!

To make this tasty Cheesecake Crescent Rolls all you need are just a few simple ingredients. Throw this together in no time and enjoy a slice or two of these refrigerated crescent rolls filled with decadent creamy cream cheese filling!

INGREDIENTS

1 tsp vanilla extract

1 1/2 c. granulated sugar

1/4 tsp salt

2 cans of crescent rolls

1 tsp cinnamon

1/2 c. (1 stick) butter, melted

2 (8 ounces each) pkg cream cheese, at room temperature

How to make Cheesecake Crescent Rolls

Step 1: Prepare the oven. Preheat it to 350 degrees F. Using cooking spray, grease a 9 x 13-inch baking pan.

Step 2: Into the bottom of the prepared baking dish, press 1 unrolled can of crescent rolls. If needed, press the dough at the seams.

Step 3: Place the cream cheese, and 1 cup of the sugar, salt, and vanilla extract in a medium bowl. Mix using an electric mixer until smooth.

Step 4: On top of the dough, spread the cream cheese mixture.

Step 5: After unrolling the second can of the crescent rolls, place it on top of the cream cheese layer.

Step 6: On top, pour the melted butter. Brush the melted butter to evenly cover the crescent rolls.

Step 7: Combine the rest of the sugar and cinnamon, then sprinkle this on top.

Step 8: Place in the preheated oven and bake for about 30 minutes until the top is golden brown. Remove from the oven when done and allow the cheesecake crescent rolls to cool before slicing into triangles.

Step 9: Serve and enjoy!

Cheesecake Crescent Rolls

Rebecca Prep time: 10 mins | Cook time: 30 mins | Serves: 8 These Cheesecake Crescent Rolls are so easy to whip up and guarantee to always be the star of… General Recipes Cheesecake Crescent Rolls European Print This
Serves: 8 Prep Time: 10 mins Cooking Time: 30 mins 30 mins
Nutrition facts: 200 calories 20 grams fat
Rating: 5.0/5
( 1 voted )

Ingredients

  • 1 tsp vanilla extract
  • 1 1/2 c. granulated sugar
  • 1/4 tsp salt
  • 2 cans of crescent rolls
  • 1 tsp cinnamon
  • 1/2 c. (1 stick) butter, melted
  • 2 (8 ounces each) pkg cream cheese, at room temperature

Instructions

Step 1: Prepare the oven. Preheat it to 350 degrees F. Using cooking spray, grease a 9 x 13-inch baking pan.

Step 2: Into the bottom of the prepared baking dish, press 1 unrolled can of crescent rolls. If needed, press the dough at the seams.

Step 3: Place the cream cheese, and 1 cup of the sugar, salt, and vanilla extract in a medium bowl. Mix using an electric mixer until smooth.

Step 4: On top of the dough, spread the cream cheese mixture.

Step 5: After unrolling the second can of the crescent rolls, place it on top of the cream cheese layer.

Step 6: On top, pour the melted butter. Brush the melted butter to evenly cover the crescent rolls.

Step 7: Combine the rest of the sugar and cinnamon, then sprinkle this on top.

Step 8: Place in the preheated oven and bake for about 30 minutes until the top is golden brown. Remove from the oven when done and allow the cheesecake crescent rolls to cool before slicing into triangles.

Step 9: Serve and enjoy!

September 15, 2022 0 comment
0 FacebookTwitterPinterestEmail
General Recipes

Oklahoma Fried Onion Burger

by Rebecca September 15, 2022
written by Rebecca

Prep time: 1 hr | Serving: 4

Mouthwatering and the perfect appetizer. This Oklahoma Fried Onion Burger is made with hamburger, cheese, and onions. Serve this delicious burger with your favorite pickles for a simple treat at home that your family, especially your children will love!

Ingredients

1 pound 80/20 hamburger meat

4 tbsp butter

½ c. of French onion dip

1–2 tbsp yellow mustard

2 large white or yellow onions, thinly sliced

Kosher salt

Salt and pepper for seasoning

2 tsp of Worcestershire sauce

4 hamburger buns

Pickles for serving, optional

4 slices of cheddar cheese

How to make Oklahoma Fried Onion Burger

Step 1: In a bowl, place the onion dip, mustard, and Worcestershire sauce. Mix well, then cover the bowl and put it in the icebox until ready to serve.

Step 2: Over a large bowl, place a colander. To the colander, add the onions and generously sprinkle with salt. Lightly stir and set the onions aside for about 30 to 45 minutes.

Step 3: Into a clean cloth, transfer the onions and press to absorb any leftover moisture.

Step 4: Into 4 equal balls, slice and shape the meat. In the meantime, melt the butter in a skillet on medium heat. Into the skillet, add the meatballs. Flatten the meat into thin patties using a spatula.

Step 5: On top of each patty, place a heaping amount of the onions and sprinkle each with Kent’s seasoning or salt and pepper. Cook the patties further until the edges are browned. Then, carefully flip the patties. Continue to cook the patties for another 3 minutes. Continuously flip the patties and cook for another 2 to 3 minutes to let some of the steam and flavor absorb into the buns.

Step 6: Take the buns out of the skillet. On top of each patty, lay a slice of cheese and cook further until the cheese has melted.

Step 7: On top of the burger, place the bottom bun. Then, flip the burger onto the bun, then remove them from the skillet. Repeat with the rest of the burgers. Over the top bun, generously spread the French onion dip mixture.

Step 8: Serve the Oklahoma Fried Onion Burger right away. Enjoy!

Tips:

To prevent the meat from getting a burn, gently place the meat from the skillet.

Pair this burger with your favorite pickles.

Oklahoma Fried Onion Burger

Rebecca Prep time: 1 hr | Serving: 4 Mouthwatering and the perfect appetizer. This Oklahoma Fried Onion Burger is made with hamburger, cheese, and onions. Serve this delicious burger with your… General Recipes Oklahoma Fried Onion Burger European Print This
Serves: 4 Prep Time: 1 hr
Nutrition facts: 200 calories 20 grams fat
Rating: 5.0/5
( 1 voted )

Ingredients

  • 1 pound 80/20 hamburger meat
  • 4 tbsp butter
  • ½ c. of French onion dip
  • 1–2 tbsp yellow mustard
  • 2 large white or yellow onions, thinly sliced
  • Kosher salt
  • Salt and pepper for seasoning
  • 2 tsp of Worcestershire sauce
  • 4 hamburger buns
  • Pickles for serving, optional
  • 4 slices of cheddar cheese

Instructions

Step 1: In a bowl, place the onion dip, mustard, and Worcestershire sauce. Mix well, then cover the bowl and put it in the icebox until ready to serve.

Step 2: Over a large bowl, place a colander. To the colander, add the onions and generously sprinkle with salt. Lightly stir and set the onions aside for about 30 to 45 minutes.

Step 3: Into a clean cloth, transfer the onions and press to absorb any leftover moisture.

Step 4: Into 4 equal balls, slice and shape the meat. In the meantime, melt the butter in a skillet on medium heat. Into the skillet, add the meatballs. Flatten the meat into thin patties using a spatula.

Step 5: On top of each patty, place a heaping amount of the onions and sprinkle each with Kent’s seasoning or salt and pepper. Cook the patties further until the edges are browned. Then, carefully flip the patties. Continue to cook the patties for another 3 minutes. Continuously flip the patties and cook for another 2 to 3 minutes to let some of the steam and flavor absorb into the buns.

Step 6: Take the buns out of the skillet. On top of each patty, lay a slice of cheese and cook further until the cheese has melted.

Step 7: On top of the burger, place the bottom bun. Then, flip the burger onto the bun, then remove them from the skillet. Repeat with the rest of the burgers. Over the top bun, generously spread the French onion dip mixture.

Step 8: Serve the Oklahoma Fried Onion Burger right away. Enjoy!

Notes

To prevent the meat from getting a burn, gently place the meat from the skillet. Pair this burger with your favorite pickles.

September 15, 2022 0 comment
0 FacebookTwitterPinterestEmail
General Recipes

Cabbage Roll Soup

by Rebecca September 15, 2022
written by Rebecca

Total cooking time: 1 hr 10 mins | Serving: 6

Enjoy the same flavors of the classic baked cabbage rolls with this cabbage roll soup. Throw this soup together easily with less work and enjoy a filling, hearty, and delicious weeknight meal that your entire family will love!

We all know how much work we have to put in when making baked cabbage rolls. If you hate fussy preparation, this cabbage roll soup is the perfect option. You can make this soup easily, at any time in your soup pot without going through all the hassle. But keep in mind that we don’t want to overcook the soup, or it’ll get mushy.

This soup has everything! From the meat, veggies, and rice. It is a complete meal. The perfect bowl of soup to fight the cold nights. Serve this soup with a side of crusty bread or green salad for an easy and quick meal that even your pickiest eaters will enjoy!

Ingredients

1 lb of ground beef

2 c. of water

1 (20 oz) jar of pasta sauce

3 ½ lbs of cabbage, cut into bite-size pieces

1 (10 oz) can of tomato soup

1 onion, chopped

1 ½ c. of converted long-grain white rice

3 c. of water

1 dash of hot pepper sauce

Salt and ground black pepper to taste

How to make Cabbage Roll Soup

Step 1: Cook the rice for about 20 to 25 minutes until tender and well-cooked.

Step 2: Place the beef into a hot large soup pot over medium-high heat. Stir and cook for about 5 to 7 minutes until no longer pink. When done, drain and discard the grease.

Step 3: Into the beef, pour in 2 c water. Add the cooked rice, pasta sauce, tomato soup, cabbage, onion, salt, black pepper, and hot sauce. Bring the soup to a boil. Once boiling, adjust the heat to low or medium-low, then put the lid on. Let everything simmer until the cabbage is soft. This takes another 20 to 30 minutes.

Step 4: Ladle the soup into serving bowls and serve immediately. Enjoy!

Tips:

Add enough water to the soup until you reached your desired thickness.

You can add canned diced tomatoes if you prefer a little chunkier soup. Or add more tomato sauce if you want more tomatoes in your soup.

Cabbage Roll Soup

Rebecca Total cooking time: 1 hr 10 mins | Serving: 6 Enjoy the same flavors of the classic baked cabbage rolls with this cabbage roll soup. Throw this soup together easily… General Recipes Cabbage Roll Soup European Print This
Serves: 6 Cooking Time: 1 hr 10 mins 1 hr 10 mins
Nutrition facts: 200 calories 20 grams fat
Rating: 5.0/5
( 1 voted )

Ingredients

  • 1 lb of ground beef
  • 2 c. of water
  • 1 (20 oz) jar of pasta sauce
  • 3 ½ lbs of cabbage, cut into bite-size pieces
  • 1 (10 oz) can of tomato soup
  • 1 onion, chopped
  • 1 ½ c. of converted long-grain white rice
  • 3 c. of water
  • 1 dash of hot pepper sauce
  • Salt and ground black pepper to taste

Instructions

Step 1: Cook the rice for about 20 to 25 minutes until tender and well-cooked.

Step 2: Place the beef into a hot large soup pot over medium-high heat. Stir and cook for about 5 to 7 minutes until no longer pink. When done, drain and discard the grease.

Step 3: Into the beef, pour in 2 c water. Add the cooked rice, pasta sauce, tomato soup, cabbage, onion, salt, black pepper, and hot sauce. Bring the soup to a boil. Once boiling, adjust the heat to low or medium-low, then put the lid on. Let everything simmer until the cabbage is soft. This takes another 20 to 30 minutes.

Step 4: Ladle the soup into serving bowls and serve immediately. Enjoy!

Notes

Add enough water to the soup until you reached your desired thickness. You can add canned diced tomatoes if you prefer a little chunkier soup. Or add more tomato sauce if you want more tomatoes in your soup.

September 15, 2022 0 comment
0 FacebookTwitterPinterestEmail
General Recipes

Chocolate Chip Cookies

by Rebecca September 15, 2022
written by Rebecca

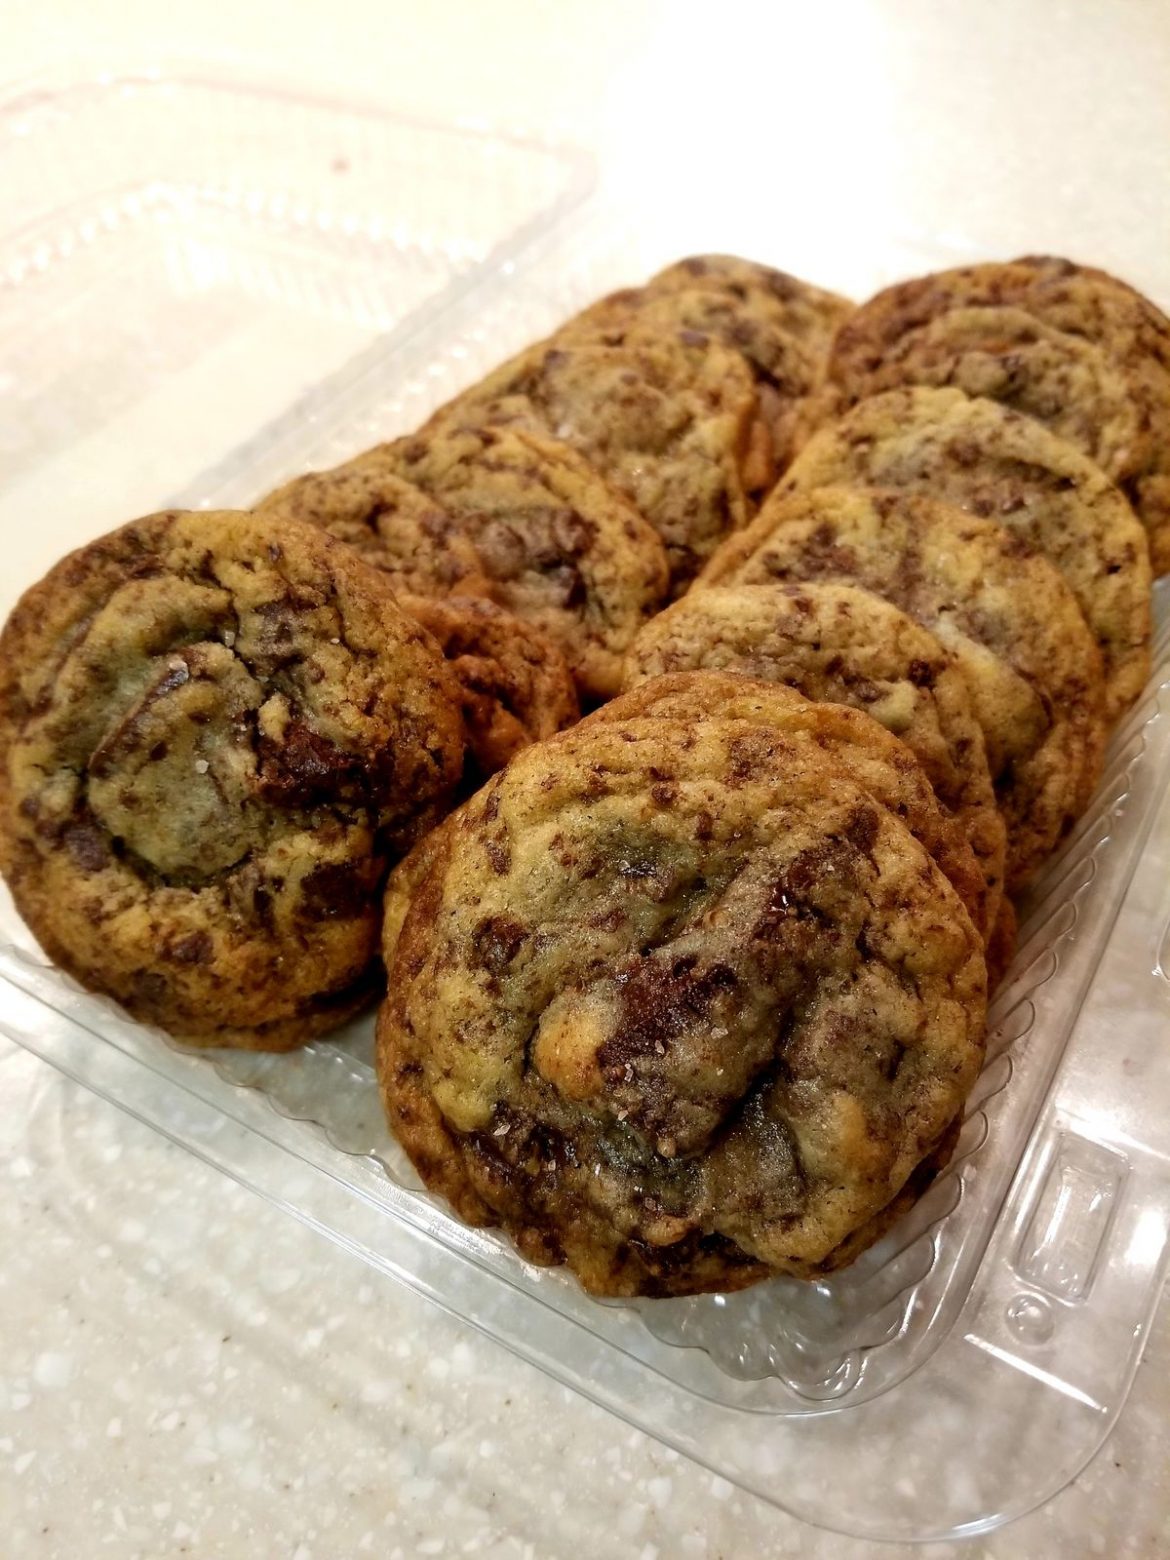
Cook time: 1 hr 30 mins | Servings: 48

These are the best chocolate chip cookies! They are the chewiest, softest, most delicious cookies! My favorite is the slightly crispy texture on the outside that matches the chewiness on the inside. These are the ultimate cookies that are bursting with chocolate in every bite! The best part is these cookies are super easy to whip up using just a few basic ingredients.

Ingredients

1 egg

1 tsp of baking soda

1 c. of softened butter

2 ¼ c. of all-purpose flour

¾ c. of packed brown sugar

1 tsp of vanilla

¾ c. of granulated sugar

2 c. of semisweet chocolate chips

1 c. of coarsely chopped nuts, optional

½ tsp of salt

How to make Chocolate Chip Cookies

Step 1: Prepare the oven. Preheat it to 375 degrees F.

Step 2: In a bowl, place the flour, baking soda, and salt. Mix well and set aside.

Step 3: Place the softened butter and sugar in a different bowl. Beat using an electric mixer on medium speed, scraping the sides of the bowl often until fluffy.

Step 4: Whisk the egg and vanilla until smooth, then add this into the flour mixture. Mix well, then fold on the chocolate chips and nuts.

Step 5: In an ungreased baking pan, drop the dough with a rounded tbsp full, leaving about 2 inches of space between each dough.

Step 6: Place in the preheated oven and bake for about 8 to 10 minutes or until light brown. Remove from the oven when done, and allow the cookies to cool on the pan for about 2 minutes. Then, transfer them to a cooling rack to cool completely. You can keep these cookies in an airtight container.

Tips:

Place the pan on the middle oven rack when baking for best results.

I recommend using shiny aluminium with a smooth surface and no sides cookie sheets for this recipe.

Chocolate Chip Cookies

Rebecca Cook time: 1 hr 30 mins | Servings: 48 These are the best chocolate chip cookies! They are the chewiest, softest, most delicious cookies! My favorite is the slightly crispy… General Recipes Chocolate Chip Cookies European Print This
Serves: 48 Cooking Time: 1 hr 30 mins 1 hr 30 mins
Nutrition facts: 200 calories 20 grams fat
Rating: 4.0/5
( 2 voted )

Ingredients

  • 1 egg
  • 1 tsp of baking soda
  • 1 c. of softened butter
  • 2 ¼ c. of all-purpose flour
  • ¾ c. of packed brown sugar
  • 1 tsp of vanilla
  • ¾ c. of granulated sugar
  • 2 c. of semisweet chocolate chips
  • 1 c. of coarsely chopped nuts, optional
  • ½ tsp of salt

Instructions

Step 1: Prepare the oven. Preheat it to 375 degrees F.

Step 2: In a bowl, place the flour, baking soda, and salt. Mix well and set aside.

Step 3: Place the softened butter and sugar in a different bowl. Beat using an electric mixer on medium speed, scraping the sides of the bowl often until fluffy.

Step 4: Whisk the egg and vanilla until smooth, then add this into the flour mixture. Mix well, then fold on the chocolate chips and nuts.

Step 5: In an ungreased baking pan, drop the dough with a rounded tbsp full, leaving about 2 inches of space between each dough.

Step 6: Place in the preheated oven and bake for about 8 to 10 minutes or until light brown. Remove from the oven when done, and allow the cookies to cool on the pan for about 2 minutes. Then, transfer them to a cooling rack to cool completely. You can keep these cookies in an airtight container.

Notes

Place the pan on the middle oven rack when baking for best results. I recommend using shiny aluminium with a smooth surface and no sides cookie sheets for this recipe.

September 15, 2022 0 comment
0 FacebookTwitterPinterestEmail
Newer Posts
Older Posts

Popular Posts

  • 1

    Crispy Crunchy Parmesan Potatoes

    March 21, 2020
  • 2

    CROCK POT SMOTHERED PORK CHOPS

    March 21, 2020
  • Facebook
  • Twitter

@2019 - All Right Reserved.


Back To Top