Cook it once
  • Home
  • Privacy Policy
  • Recipes
    • KETO
    • LC
    • WW
  • Tips
  • Contact
Cook it once
  • Home
  • Privacy Policy
  • Recipes
    • KETO
    • LC
    • WW
  • Tips
  • Contact
Category:

General Recipes

General Recipes

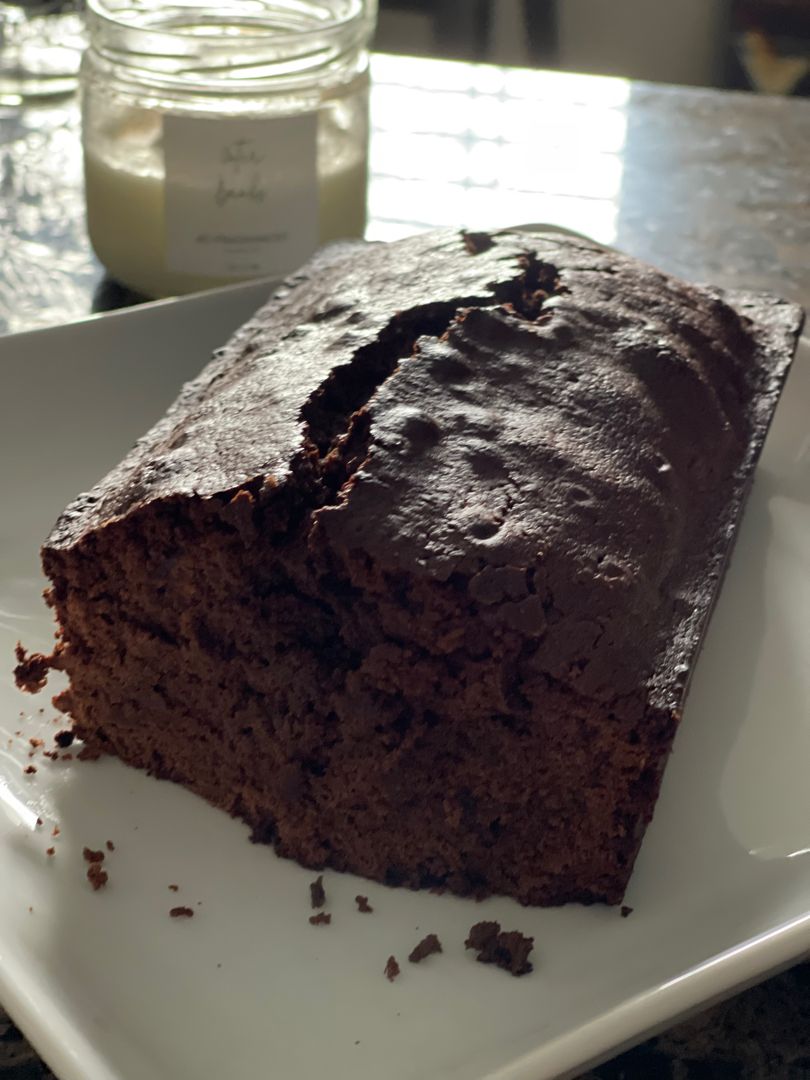
Hot Fudge Brownie Bread

by Rebecca September 27, 2022
written by Rebecca

Prep time: 15 mins | Cook time: 1 hr | Total time: 1 hr 15 mins | Servings: 12

If you are looking for another bread to make, this simple, easy, and quick Hot Fudge Brownie Bread is a must-try! This bread is drenched in chocolate. It’s thick, incredibly sweet, and decadent hot fudge brownie bread. I love to serve a big slice of this bread warm with my favorite coffee or milk to jump-start my day. But you can also enjoy this Hot Fudge Brownie Bread for dessert.

I am in love with gooey, drippy chocolate. It’s my number one weakness! That’s the ultimate reason why I adore this Hot Fudge Brownie Bread. It is insanely addictive. I even enjoy making this in mini loaf pans. This Hot Fudge Brownie Bread is super good. One bite and I’m sure you’ll be craving this over and over again!

This Hot Fudge Brownie Bread is made with just six ingredients. All you need to do is mix the ingredients. Pour the bread batter into a loaf pan or mini loaf pan and bake. Just looking at this bread makes me want to devour it and not share!

Ingredients

3 large Eggs

⅓ c. Vegetable Oil

1 box of Brownie Mix

A bread loaf pan

1 jar (11 ounces) of Hot Fudge Sauce

How to make Hot Fudge Brownie Bread

Step 1: Prepare the oven. Preheat it to 350 degrees. Using non-stick cooking spray, grease a loaf pan.

Step 2: In a medium bowl, place the brownie mix, hot fudge sauce, eggs, and vegetable oil, Mix well until blended and smooth.

Step 3: Into the prepared loaf pan, transfer the batter until about 3/4 full.

Step 4: Put the loaf pan into the preheated oven and bake the batter for about 45 minutes or until the bread is completely cooked.

Step 5: When done, take the bread out of the oven and allow it to cool completely in the pan.

Nutrition Facts:

Per Serving: CALORIES: 84| TOTAL FAT: 12g | SATURATED FAT: 8g | UNSATURATED FAT: 4g | CHOLESTEROL: 140mg | SODIUM: 280mg| CARBOHYDRATES: 120g | SUGAR: 18g | PROTEIN: 14g | SUGAR: 18g | PROTEIN: 14g
Hot Fudge Brownie Bread

Rebecca Prep time: 15 mins | Cook time: 1 hr | Total time: 1 hr 15 mins | Servings: 12 If you are looking for another bread to make, this simple,… General Recipes Hot Fudge Brownie Bread European Print This
Serves: 12 Prep Time: 15 mins Cooking Time: 1 hr 1 hr
Nutrition facts: 84 calories 12 fat
Rating: 5.0/5
( 1 voted )

Ingredients

  • 3 large Eggs
  • ⅓ c. Vegetable Oil
  • 1 box of Brownie Mix
  • A bread loaf pan
  • 1 jar (11 ounces) of Hot Fudge Sauce

Instructions

Step 1: Prepare the oven. Preheat it to 350 degrees. Using non-stick cooking spray, grease a loaf pan.

Step 2: In a medium bowl, place the brownie mix, hot fudge sauce, eggs, and vegetable oil, Mix well until blended and smooth.

Step 3: Into the prepared loaf pan, transfer the batter until about 3/4 full.

Step 4: Put the loaf pan into the preheated oven and bake the batter for about 45 minutes or until the bread is completely cooked.

Step 5: When done, take the bread out of the oven and allow it to cool completely in the pan.
September 27, 2022 0 comment
0 FacebookTwitterPinterestEmail
General Recipes

CHOCOLATE RICE KRISPIE BALLS

by Rebecca September 26, 2022
written by Rebecca

Prep Time: 10 mins | Cook Time: 5 mins | Freeze/Chill: 5-6 hrs | Total Time: 5-6 hrs 15 mins | Servings: 24

Whip these chocolate rice Krispie balls up easily and quickly using just a few simple ingredients! A deliciously crunchy sweet treat that your kids will surely love! I make sure to throw a big batch because these chocolate rice Krispie balls are gone fast! These are the perfect dessert for Easter or all year round!

For this recipe, you can use semi-sweet, dairy, dark, or white chocolate. As for the other ingredients, they came through perfectly! The rice Krispies are one thing I enjoy about this treat because they give these chocolate rice Krispie balls that perfect crunchy bites! But you can substitute it with other cereals, such as cornflakes if desired.

Ingredients

Balls:

3 tbsp soft butter

1 c. of shredded coconut

1 tsp vanilla

½ c. of peanut butter

½ c. of chopped pecans

1 c. of Rice Krispies

Chocolate:

1 square of sweet chocolate

1 package of chocolate chips

HOW TO MAKE CHOCOLATE RICE KRISPIE BALLS

Balls:

Step 1: In a large bowl, place the Balls ingredients. Mix well until evenly combined. Place in the freezer for about 4 hours or overnight until set.

Step 2: Remove from the freezer after 4 hours or so and shape the chilled mixture into balls. In a tray, place the balls and allow them to chill in the fridge for 1 1/2 hours.

Chocolate:

Step 3: In a double boiler, melt the chocolate chips with sweet chocolate. Set the boiler to low.

Step 4: Remove the balls from the fridge and drop them one piece at a time into the melted chocolate mix. Roll the balls using a fork until completely coated.

Step 5: On parchment paper, place the chocolate-covered balls and let them sit in the fridge until ready to serve. In an airtight container, keep the chocolate-covered balls. Before serving, allow the chocolate-covered balls to warm up at room temperature.

Tips:

You can store these chocolate Rice Krispy balls for up to 5 days.

CHOCOLATE RICE KRISPIE BALLS

Rebecca Prep Time: 10 mins | Cook Time: 5 mins | Freeze/Chill: 5-6 hrs | Total Time: 5-6 hrs 15 mins | Servings: 24 Whip these chocolate rice Krispie balls up… General Recipes CHOCOLATE RICE KRISPIE BALLS European Print This
Serves: 24 Prep Time: 10 mins Cooking Time: 5 mins 5 mins
Nutrition facts: 200 calories 20 grams fat
Rating: 5.0/5
( 1 voted )

Ingredients

  • Balls:
  • 3 tbsp soft butter
  • 1 c. of shredded coconut
  • 1 tsp vanilla
  • ½ c. of peanut butter
  • ½ c. of chopped pecans
  • 1 c. of Rice Krispies
  • Chocolate:
  • 1 square of sweet chocolate
  • 1 package of chocolate chips

Instructions

Balls:

Step 1: In a large bowl, place the Balls ingredients. Mix well until evenly combined. Place in the freezer for about 4 hours or overnight until set.

Step 2: Remove from the freezer after 4 hours or so and shape the chilled mixture into balls. In a tray, place the balls and allow them to chill in the fridge for 1 1/2 hours.

Chocolate:

Step 3: In a double boiler, melt the chocolate chips with sweet chocolate. Set the boiler to low.

Step 4: Remove the balls from the fridge and drop them one piece at a time into the melted chocolate mix. Roll the balls using a fork until completely coated.

Step 5: On parchment paper, place the chocolate-covered balls and let them sit in the fridge until ready to serve. In an airtight container, keep the chocolate-covered balls. Before serving, allow the chocolate-covered balls to warm up at room temperature.

Notes

You can store these chocolate Rice Krispy balls for up to 5 days.

September 26, 2022 0 comment
0 FacebookTwitterPinterestEmail
General Recipes

OVEN-ROASTED LARGE MELTING POTATOES

by Rebecca September 26, 2022
written by Rebecca

Prep Time: 30 mins | Cook Time: 40 mins | Total Time: 1 hr 10 mins | Yield: 6 servings

These oven-roasted large melting potatoes are crazy delicious! These perfectly seasoned potatoes are baked to crisped perfection with the meltiest, creamiest center that is to die for! If you are searching for an amazing side dish and you love potatoes, you can skip the regular baked potato and easily make these oven-roasted large melting potatoes!

These satisfying oven-roasted large melting potatoes are oh-so-tasty! You are welcome to use a mix of red potato, creamer potato, gold, and Yukon potatoes. As for the rosemary, you can swap it with dill, thyme, or parsley instead if desired. Either way, these oven-roasted large melting potatoes are incredibly desirable!

Ingredients

2 tablespoons oil

6 large Russet potatoes

1 tablespoon minced garlic

2 sprigs of fresh rosemary

2 bay leaves

A pinch of cayenne pepper

1 teaspoon salt

HOW TO MAKE OVEN-ROASTED LARGE MELTING POTATOES

Step 1: Into two, slice the potatoes and place the pieces into a large stockpot. Pour in enough water to submerge the potatoes. Add the garlic along with bay leaves, rosemary, and salt. Stir well.

Step 2: On the stove, place the pot and let the water boil for about 3 minutes over medium heat. When done, drain the potatoes and let them dry at room temperature.

Step 3: Ready the oven. Preheat it to 375 degrees. Using aluminum foil, line a baking sheet.

Step 4: Return the potatoes to the pot. Add the cayenne pepper and oil. Using a wooden spoon, stir until the potatoes are evenly coated.

Step 5: On the prepared baking sheet, arrange the potatoes, cut-side facing up. To taste, lightly sprinkle the potatoes with salt.

Step 6: Place the potatoes into the preheated oven and bake for about 35 to 40 minutes or until the potatoes are tender.

Step 7: Take the potatoes out of the oven and serve right away. Enjoy!

Tips:

You can substitute rosemary with either dill, thyme, or parsley.

OVEN-ROASTED LARGE MELTING POTATOES

Rebecca Prep Time: 30 mins | Cook Time: 40 mins | Total Time: 1 hr 10 mins | Yield: 6 servings These oven-roasted large melting potatoes are crazy delicious! These perfectly… General Recipes OVEN-ROASTED LARGE MELTING POTATOES European Print This
Serves: 6 Prep Time: 30 mins Cooking Time: 40 mins 40 mins
Nutrition facts: 200 calories 20 grams fat
Rating: 5.0/5
( 1 voted )

Ingredients

  • 2 tablespoons oil
  • 6 large Russet potatoes
  • 1 tablespoon minced garlic
  • 2 sprigs of fresh rosemary
  • 2 bay leaves
  • A pinch of cayenne pepper
  • 1 teaspoon salt

Instructions

Step 1: Into two, slice the potatoes and place the pieces into a large stockpot. Pour in enough water to submerge the potatoes. Add the garlic along with bay leaves, rosemary, and salt. Stir well.

Step 2: On the stove, place the pot and let the water boil for about 3 minutes over medium heat. When done, drain the potatoes and let them dry at room temperature.

Step 3: Ready the oven. Preheat it to 375 degrees. Using aluminum foil, line a baking sheet.

Step 4: Return the potatoes to the pot. Add the cayenne pepper and oil. Using a wooden spoon, stir until the potatoes are evenly coated.

Step 5: On the prepared baking sheet, arrange the potatoes, cut-side facing up. To taste, lightly sprinkle the potatoes with salt.

Step 6: Place the potatoes into the preheated oven and bake for about 35 to 40 minutes or until the potatoes are tender.

Step 7: Take the potatoes out of the oven and serve right away. Enjoy!

Notes

You can substitute rosemary with either dill, thyme, or parsley.

September 26, 2022 0 comment
0 FacebookTwitterPinterestEmail
General Recipes

Delmonico Potatoes

by Rebecca September 26, 2022
written by Rebecca

Prep time: 10 mins | Cook time: 1 hr | Serves: 6

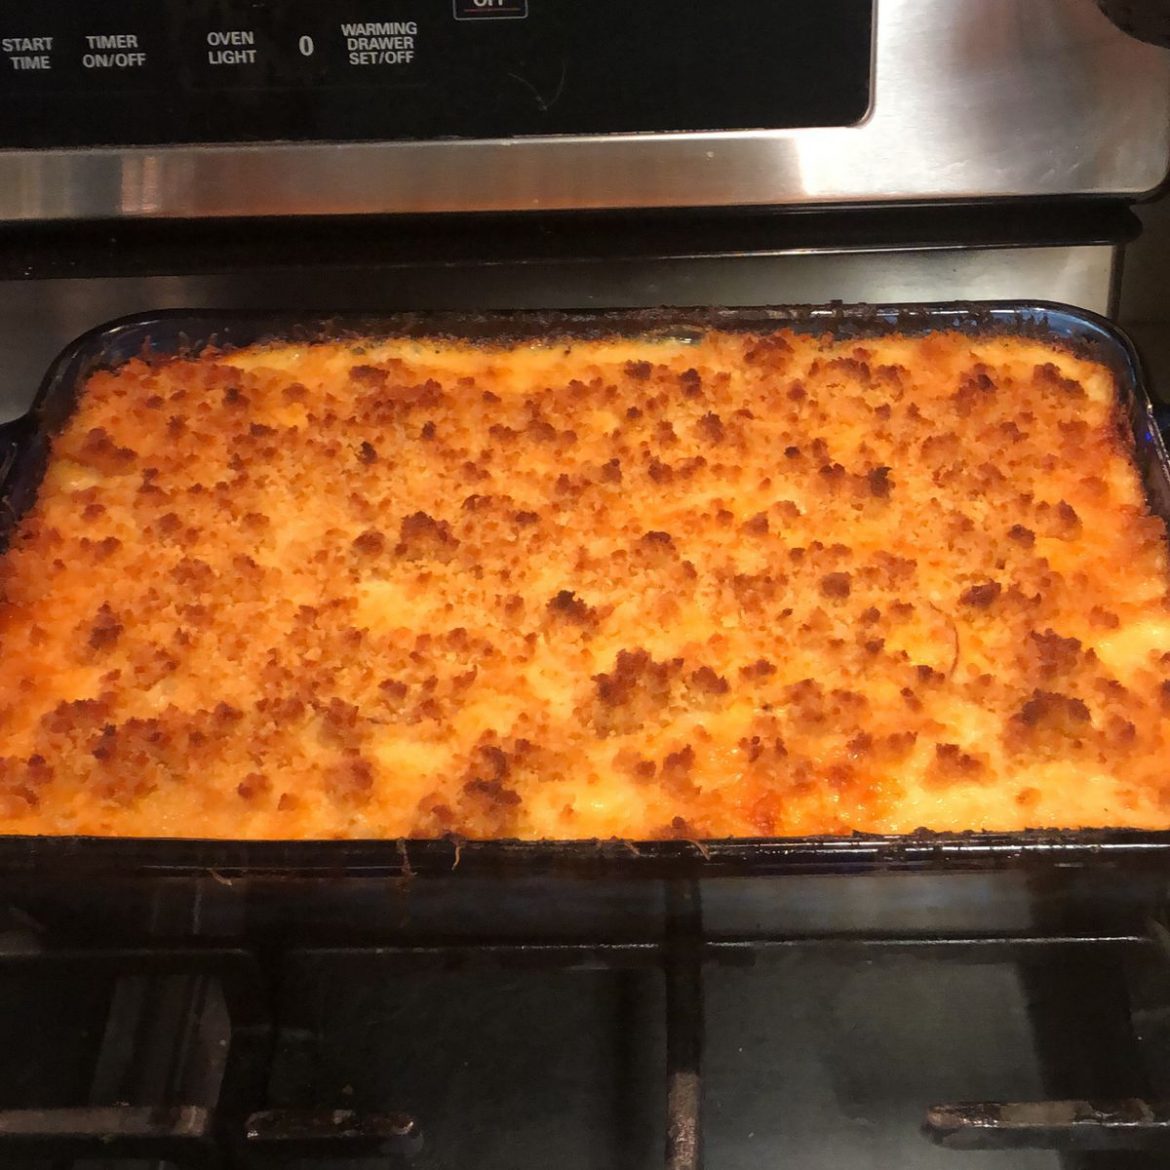
These Delmonico Potatoes are one of the best potato dishes you can make easily and quickly! Made with just a few simple ingredients (shredded hash browns, cheddar cheese, milk, heavy cream, dry mustard, and other pantry essentials). These Delmonico Potatoes are baked in a simple white sauce with shredded cheese. This simple version of the famed Delmonico potatoes is as delicious as the original ones!

Easily and quickly whip these delicious Delmonico Potatoes any time and serve them as a delightful side dish with pork chops or baked chicken, even grilled steak or ham along with your favorite vegetables.

Delmonico Potatoes are a staple at home. It is an amazing casserole-like dinner that is also awesome for special occasions. Make sure to give this simple recipe a try soon. I’m pretty sure you’ll love every bit of these Delmonico Potatoes!

INGREDIENTS

4 c. sharp cheddar cheese, grated

1 (32 ounces) package of frozen shredded hash browns, thawed

1 c. heavy cream

1 c. milk

1 tsp dry mustard

1/2 tsp garlic powder

1/2 tsp dried parsley

1 tsp salt

1/4 tsp black pepper

How to make Delmonico Potatoes

Step 1: Prepare the oven. Preheat it to 350 degrees F. Using a nonstick spray, grease a 9 x 13-inch baking dish.

Step 2: Into the prepared pan, evenly spread the potatoes and set them aside.

Step 3: Place the milk, heavy cream, dry mustard, salt, garlic powder, parsley, and black pepper in a large saucepan. Mix well and place over medium-low heat. Then, add the cheese and let it melt, stirring constantly.

Step 4: Over the potatoes, pour the cheese mixture. Place in the preheated oven and bake for about 60 minutes, uncovered, until the edges of the potatoes are golden brown.

Step 5: Serve the Delmonico Potatoes right away as a side to pork chops or baked chicken, even grilled steak or ham along with your favorite vegetables. Enjoy!

Delmonico Potatoes

Rebecca Prep time: 10 mins | Cook time: 1 hr | Serves: 6 These Delmonico Potatoes are one of the best potato dishes you can make easily and quickly! Made with… General Recipes Delmonico Potatoes European Print This
Serves: 6 Prep Time: 10 mins Cooking Time: 1 hr 1 hr
Nutrition facts: 200 calories 20 grams fat
Rating: 5.0/5
( 1 voted )

Ingredients

  • 4 c. sharp cheddar cheese, grated
  • 1 (32 ounces) package of frozen shredded hash browns, thawed
  • 1 c. heavy cream
  • 1 c. milk
  • 1 tsp dry mustard
  • 1/2 tsp garlic powder
  • 1/2 tsp dried parsley
  • 1 tsp salt
  • 1/4 tsp black pepper

Instructions

Step 1: Prepare the oven. Preheat it to 350 degrees F. Using a nonstick spray, grease a 9 x 13-inch baking dish.

Step 2: Into the prepared pan, evenly spread the potatoes and set them aside.

Step 3: Place the milk, heavy cream, dry mustard, salt, garlic powder, parsley, and black pepper in a large saucepan. Mix well and place over medium-low heat. Then, add the cheese and let it melt, stirring constantly.

Step 4: Over the potatoes, pour the cheese mixture. Place in the preheated oven and bake for about 60 minutes, uncovered, until the edges of the potatoes are golden brown.

Step 5: Serve the Delmonico Potatoes right away as a side to pork chops or baked chicken, even grilled steak or ham along with your favorite vegetables. Enjoy!

September 26, 2022 0 comment
0 FacebookTwitterPinterestEmail
General Recipes

TACO CORNBREAD CASSEROLE

by Rebecca September 26, 2022
written by Rebecca

Prep Time: 10 mins | Cook Time: 25 mins | Total Time: 35 mins | Servings: 8

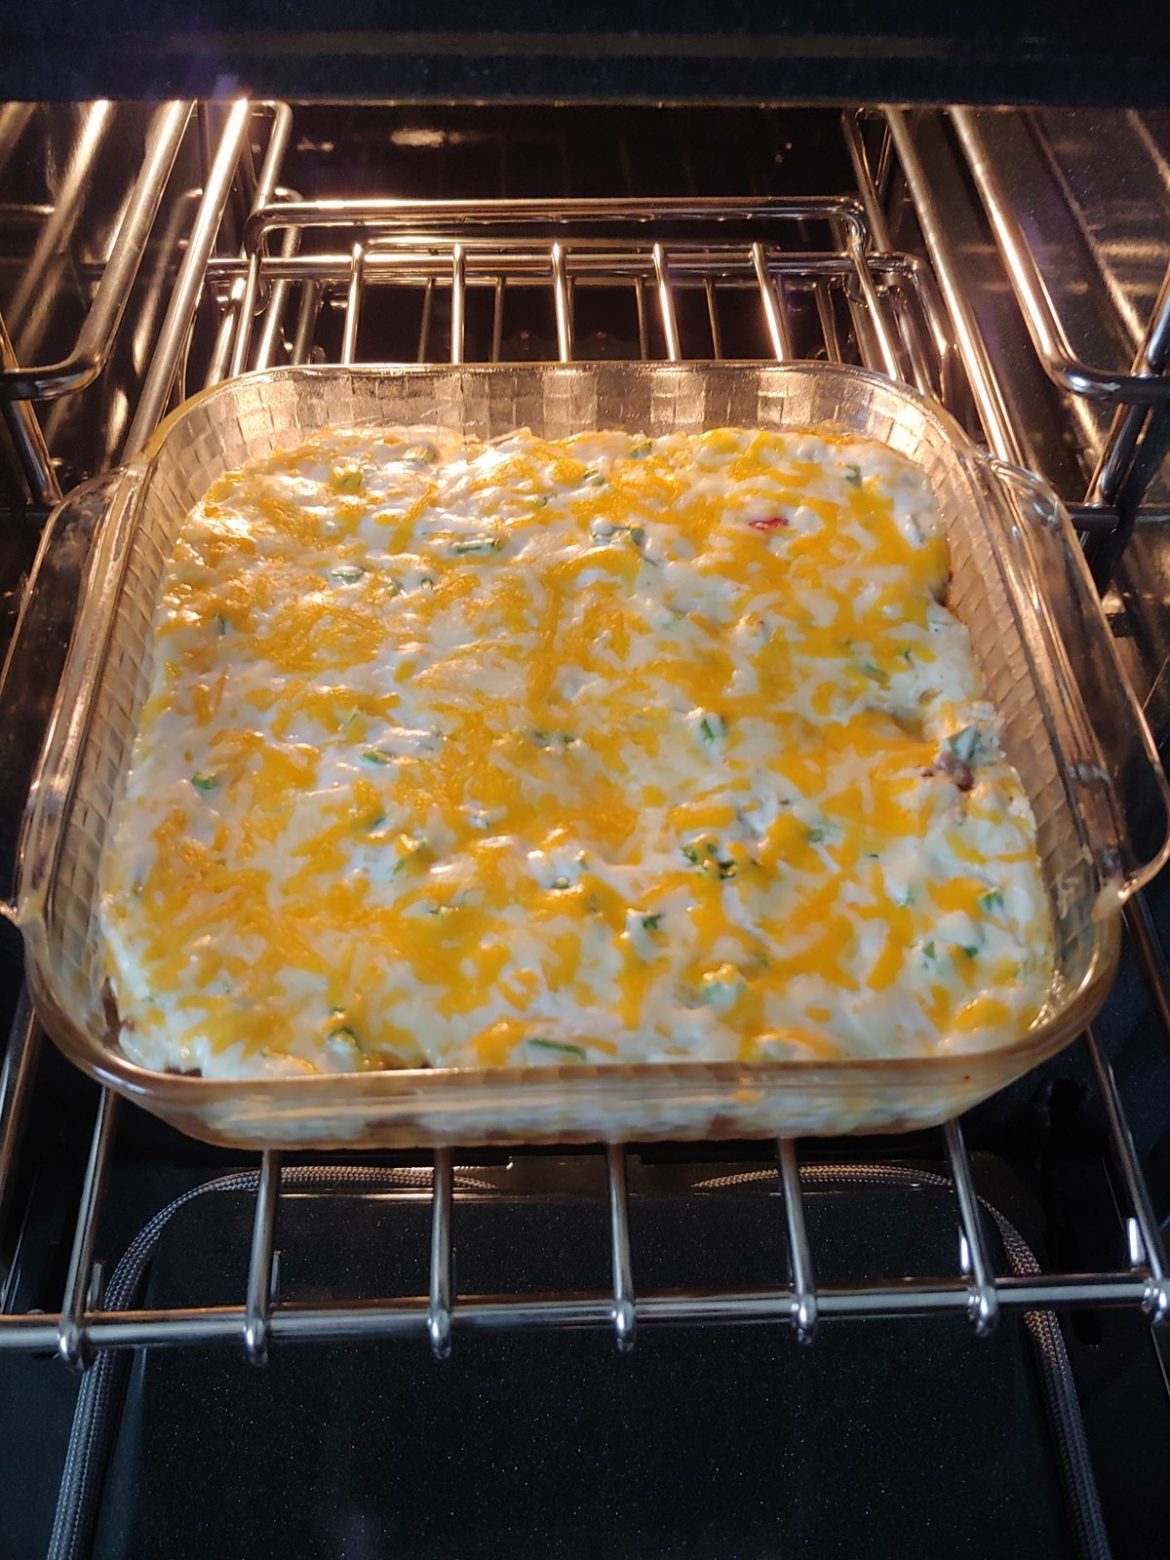
This Taco Cornbread Casserole is another amazing casserole with loads of wonderful flavor! Super easy to make using just a few simple ingredients and ready in less than an hour. Mouthwatering layered taco-style casserole with the perfect amount of kick. Feel free to adjust the heat according to your liking.

Ingredients

1 lb ground beef

7 oz. packet cornbread mix

1 large egg

½ c. milk

3 tbsp taco seasoning (or 1 packet)

10 oz. can Rotel drained

11 oz. can Mexicorn drained

2 c. sour cream

⅓ c. water

½ c. chopped green onions

2 c. shredded Mexican cheese blend (divided use)

OPTIONAL TOPPINGS:

shredded lettuce, sliced olives, diced tomatoes, taco sauce

HOW TO MAKE TACO CORNBREAD CASSEROLE

Step 1: Prepare the oven. Preheat it to 350 degrees F. Using nonstick cooking spray, grease a 9 x 9-inch or 2 1/2 quart baking dish.

Step 2: Combine the cornbread mix, milk, egg, and salt into the prepared baking dish until well blended. Place in the preheated oven and bake for about 15 minutes.

Step 3: Cook the meat until no longer pink, breaking the meat into pieces as it cooks. When done, drain the excess grease. Then, add 1/3 c. water and taco seasoning. Stir well. Next, add the Mexicorn and Rotel. Stir and allow the mixture to simmer for another minute.

Step 4: Take the cornbread out of the oven when done and pour the beef mixture over.

Step 5: In a bowl, mix the sour cream, 1 c. shredded cheddar cheese, and green onions. Pour this on top of the ground meat mixture and gently spread. On top, sprinkle the rest of the shredded cheddar cheese.

Step 6: Return the dish to the oven and resume baking for additional 25 minutes or until the bread is hot and the cheese has melted.

Step 7: Remove from the oven when done and allow the casserole to cool before slicing.

Step 8: Serve and enjoy!

TACO CORNBREAD CASSEROLE

Rebecca Prep Time: 10 mins | Cook Time: 25 mins | Total Time: 35 mins | Servings: 8 This Taco Cornbread Casserole is another amazing casserole with loads of wonderful flavor!… General Recipes TACO CORNBREAD CASSEROLE European Print This
Serves: 8 Prep Time: 10 mins Cooking Time: 25 mins 25 mins
Nutrition facts: 200 calories 20 grams fat
Rating: 5.0/5
( 1 voted )

Ingredients

  • 1 lb ground beef
  • 7 oz. packet cornbread mix
  • 1 large egg
  • ½ c. milk
  • 3 tbsp taco seasoning (or 1 packet)
  • 10 oz. can Rotel drained
  • 11 oz. can Mexicorn drained
  • 2 c. sour cream
  • ⅓ c. water
  • ½ c. chopped green onions
  • 2 c. shredded Mexican cheese blend (divided use)
  • OPTIONAL TOPPINGS:
  • shredded lettuce, sliced olives, diced tomatoes, taco sauce

Instructions

Step 1: Prepare the oven. Preheat it to 350 degrees F. Using nonstick cooking spray, grease a 9 x 9-inch or 2 1/2 quart baking dish.

Step 2: Combine the cornbread mix, milk, egg, and salt into the prepared baking dish until well blended. Place in the preheated oven and bake for about 15 minutes.

Step 3: Cook the meat until no longer pink, breaking the meat into pieces as it cooks. When done, drain the excess grease. Then, add 1/3 c. water and taco seasoning. Stir well. Next, add the Mexicorn and Rotel. Stir and allow the mixture to simmer for another minute.

Step 4: Take the cornbread out of the oven when done and pour the beef mixture over.

Step 5: In a bowl, mix the sour cream, 1 c. shredded cheddar cheese, and green onions. Pour this on top of the ground meat mixture and gently spread. On top, sprinkle the rest of the shredded cheddar cheese.

Step 6: Return the dish to the oven and resume baking for additional 25 minutes or until the bread is hot and the cheese has melted.

Step 7: Remove from the oven when done and allow the casserole to cool before slicing.

Step 8: Serve and enjoy!

September 26, 2022 0 comment
0 FacebookTwitterPinterestEmail
General Recipes

The Easiest, Tastiest LASAGNA SOUP Recipe You Will Ever Find

by Rebecca September 26, 2022
written by Rebecca

Prep Time: 5 mins | Cook Time: 30 mins | Total Time: 35 mins | Servings: 8

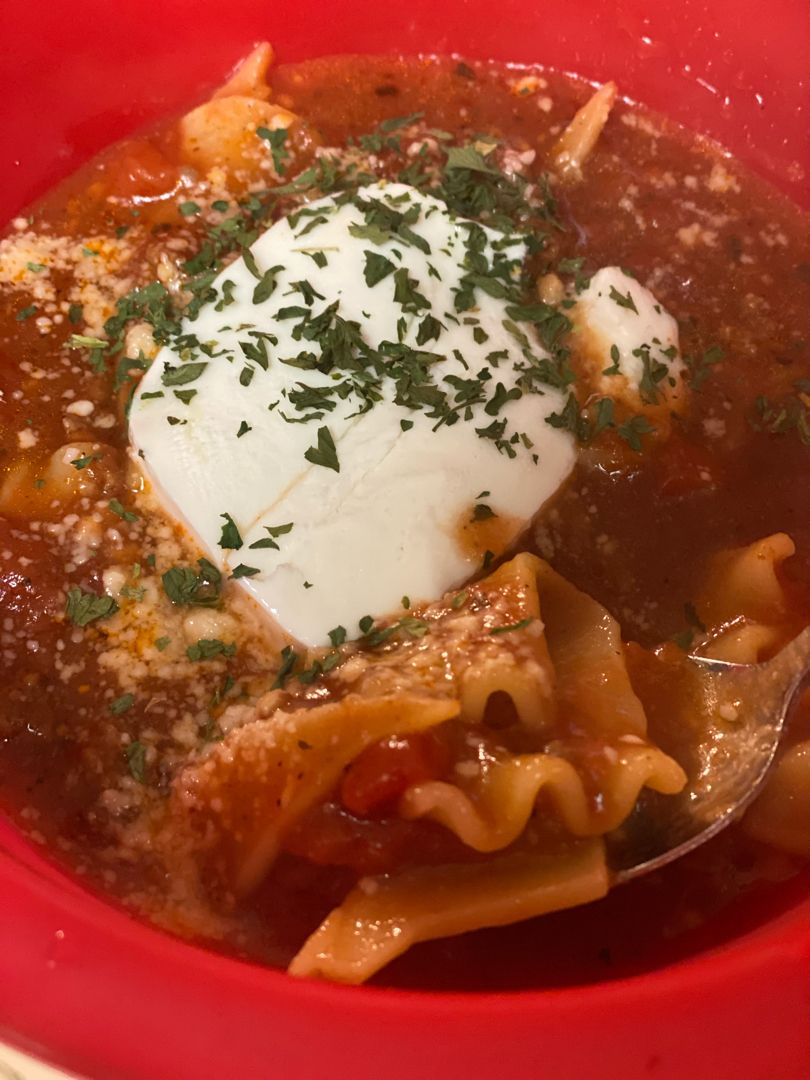
Enjoy the hearty flavors of lasagna with this comforting Lasagna Soup that is packed with beef, tomatoes, Italian herbs, and loads of melty cheese!

This Lasagna Soup has an incredible flavor. It is a cozy soup that you can easily make in minutes. This soup is perfect for chilly weather and your entire family. If you love lasagna and you are looking for another fun, easy way to enjoy it, then this lasagna soup is a must! Give this recipe a try soon. I’m sure that this will become your new favorite!

Ingredients

3 cloves garlic, minced

1 small onion, diced

1 lb ground beef

1 green bell pepper, diced

1 tsp ground thyme

2 tsp Italian seasoning

1 tbsp brown sugar

15 oz. can of tomato sauce

32 oz. carton chicken broth

2 (14.5 oz.) cans of petite diced tomatoes

2 c. broken lasagna noodles

2 c. mozzarella cheese, shredded

½ c. Parmesan cheese, grated

½ tsp salt

HOW TO MAKE LASAGNA SOUP

Step 1: In a large saucepan, cook the ground beef until no longer pink, crumbling the meat into chunks as it cooks. Then, add the onion, bell pepper, and other ingredients. Next, stir in the garlic and continue to cook until aromatic. Drain the excess grease.

Step 2: To the pot with the ground beef mixture, add the thyme, Italian seasoning, salt, brown sugar, chicken broth, diced tomatoes, and tomato sauce. Stir well and bring everything to a boil.

Step 3: Once the mixture is boiling, decrease the heat. Put the lid on and let everything simmer for about 20 minutes.

Step 4: After 20 minutes, add the lasagna noodles and stir. Continue to simmer for another 10 minutes, stirring often. Then, stir in the Parmesan cheese.

Step 5: Remove from the heat when done and ladle the soup into serving bowls. Sprinkles each serving with mozzarella cheese. Enjoy immediately!

The Easiest, Tastiest LASAGNA SOUP Recipe You Will Ever Find

Rebecca Prep Time: 5 mins | Cook Time: 30 mins | Total Time: 35 mins | Servings: 8 Enjoy the hearty flavors of lasagna with this comforting Lasagna Soup that is… General Recipes The Easiest, Tastiest LASAGNA SOUP Recipe You Will Ever Find European Print This
Serves: 8 Prep Time: 5 mins Cooking Time: 30 mins 30 mins
Nutrition facts: 200 calories 20 grams fat
Rating: 5.0/5
( 1 voted )

Ingredients

  • 3 cloves garlic, minced
  • 1 small onion, diced
  • 1 lb ground beef
  • 1 green bell pepper, diced
  • 1 tsp ground thyme
  • 2 tsp Italian seasoning
  • 1 tbsp brown sugar
  • 15 oz. can of tomato sauce
  • 32 oz. carton chicken broth
  • 2 (14.5 oz.) cans of petite diced tomatoes
  • 2 c. broken lasagna noodles
  • 2 c. mozzarella cheese, shredded
  • ½ c. Parmesan cheese, grated
  • ½ tsp salt

Instructions

Step 1: In a large saucepan, cook the ground beef until no longer pink, crumbling the meat into chunks as it cooks. Then, add the onion, bell pepper, and other ingredients. Next, stir in the garlic and continue to cook until aromatic. Drain the excess grease.

Step 2: To the pot with the ground beef mixture, add the thyme, Italian seasoning, salt, brown sugar, chicken broth, diced tomatoes, and tomato sauce. Stir well and bring everything to a boil.

Step 3: Once the mixture is boiling, decrease the heat. Put the lid on and let everything simmer for about 20 minutes.

Step 4: After 20 minutes, add the lasagna noodles and stir. Continue to simmer for another 10 minutes, stirring often. Then, stir in the Parmesan cheese.

Step 5: Remove from the heat when done and ladle the soup into serving bowls. Sprinkles each serving with mozzarella cheese. Enjoy immediately!

September 26, 2022 0 comment
0 FacebookTwitterPinterestEmail
General Recipes

These Apple Pie Enchiladas Are Ridiculously Good

by Rebecca September 26, 2022
written by Rebecca

Prep Time: 20 mins | Cook Time: 20 mins | Total Time: 1 hr 25 mins | Yield: 6

If you are looking for another amazing breakfast or brunch, these Apple Pie Enchiladas are a great option! They are ridiculously good and super easy to throw together using just a few simple ingredients! These mouthwatering enchiladas are made with a mixture of canned apple pie filling, and cinnamon rolled into flour tortillas and topped with brown sugar syrup. Serve each serving with a dollop of whipped cream or a big scoop of vanilla and drizzles of caramel sauce.

These wonderful Apple Pie Enchiladas are a delightful dessert, and also great for breakfast/brunch. This recipe is also good for a last-minute dessert. I am sure to whip these Apple Pie Enchiladas over and over again!

Ingredients

1/2 c. butter

6 (8”) flour tortillas

1/2 c. brown sugar

1 tsp ground cinnamon

1/2 c. white sugar

1/2 c. water

Homemade Apple Pie Filling or 1 (21 oz.) can of apple pie filling

How to make Apple Pie Enchiladas

Step 1: Prepare the oven. Preheat it to 350 degrees F. Using butter, grease a 9 x 13-inch baking dish and set aside.

Step 2: Place the tortillas in the microwave to make them soft if needed.

Step 3: Onto each tortilla, sprinkle 1/4 c of the pie filling. In the prepared baking pan, place the tortillas, seam-side down.

Step 4: In a large saucepan, place the butter, sugar, brown sugar, and water. Bring to a boil. Once boiling, adjust the heat to medium and let the mixture simmer for about 3 minutes, stirring continuously.

Step 5: Over the enchiladas, pour the sauce and sprinkle with more cinnamon. Allow the enchiladas to stand for about 45 minutes.

Step 6: Place in the preheated oven and bake for about 20 minutes or until the enchiladas are golden.

Step 7: Remove from the oven when done and serve the enchiladas warm with whipped cream or vanilla. Top each serving with caramel sauce. Enjoy!

These Apple Pie Enchiladas Are Ridiculously Good

Rebecca Prep Time: 20 mins | Cook Time: 20 mins | Total Time: 1 hr 25 mins | Yield: 6 If you are looking for another amazing breakfast or brunch, these… General Recipes These Apple Pie Enchiladas Are Ridiculously Good European Print This
Serves: 6 Prep Time: 20 mins Cooking Time: 20 mins 20 mins
Nutrition facts: 200 calories 20 grams fat
Rating: 5.0/5
( 1 voted )

Ingredients

  • 1/2 c. butter
  • 6 (8”) flour tortillas
  • 1/2 c. brown sugar
  • 1 tsp ground cinnamon
  • 1/2 c. white sugar
  • 1/2 c. water
  • Homemade Apple Pie Filling or 1 (21 oz.) can of apple pie filling

Instructions

Step 1: Prepare the oven. Preheat it to 350 degrees F. Using butter, grease a 9 x 13-inch baking dish and set aside.

Step 2: Place the tortillas in the microwave to make them soft if needed.

Step 3: Onto each tortilla, sprinkle 1/4 c of the pie filling. In the prepared baking pan, place the tortillas, seam-side down.

Step 4: In a large saucepan, place the butter, sugar, brown sugar, and water. Bring to a boil. Once boiling, adjust the heat to medium and let the mixture simmer for about 3 minutes, stirring continuously.

Step 5: Over the enchiladas, pour the sauce and sprinkle with more cinnamon. Allow the enchiladas to stand for about 45 minutes.

Step 6: Place in the preheated oven and bake for about 20 minutes or until the enchiladas are golden.

Step 7: Remove from the oven when done and serve the enchiladas warm with whipped cream or vanilla. Top each serving with caramel sauce. Enjoy!

September 26, 2022 0 comment
0 FacebookTwitterPinterestEmail
General Recipes

No-Bake Peanut Butter Cheerio Bars (3 Ingredients!)

by Rebecca September 26, 2022
written by Rebecca

Servings: 9

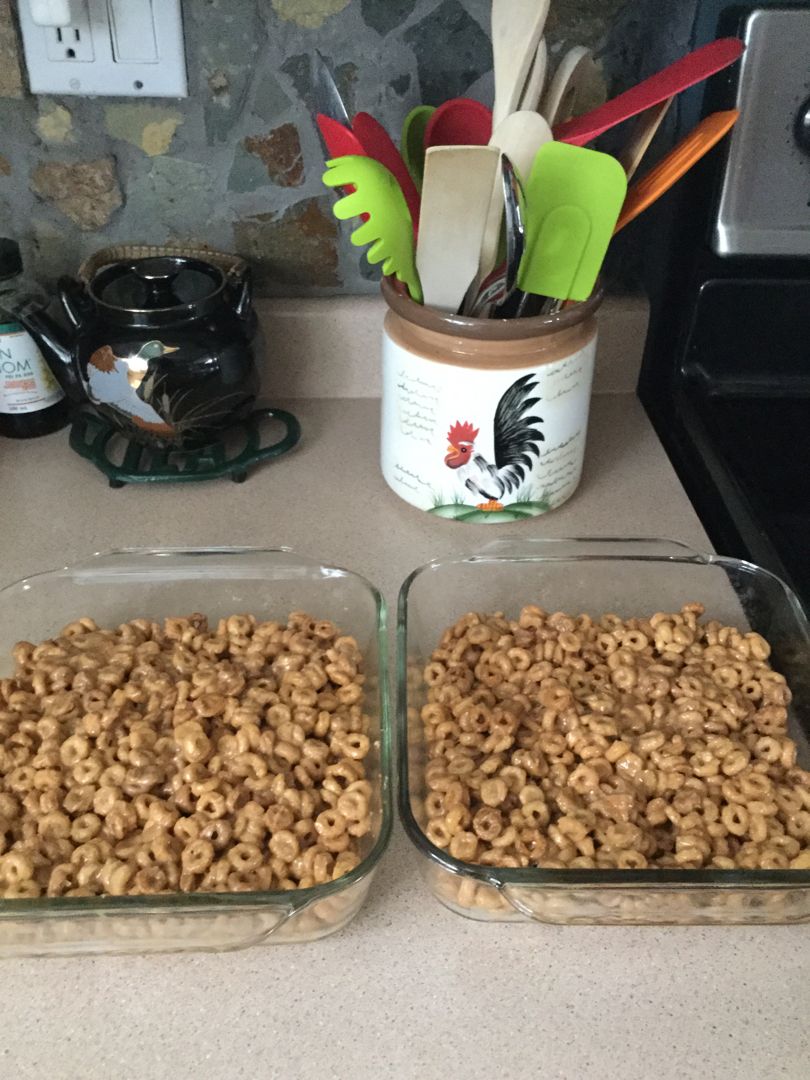
These no-bake peanut butter Cheerio bars are made with just three simple ingredients (cheerios, peanut butter, and honey). Mix them all and let it sit for about an hour or so before cutting. And there you go! You have the perfect after-school, breakfast, or quick grab-and-go snack excellent for kids and adults!

If you are searching for a healthy and easy snack idea, you have to give these no-bake peanut butter Cheerio bars a try. It is the easiest and quickest treat I’ve made! These no-bake peanut butter Cheerio bars are deliciously gooey, super moist, and perfectly crunchy all at the same time! And the flavor and texture of these Cheerio bars are super satisfying! If desired, you can also add in some chocolate chips for that extra layer of goodness!

These no-bake peanut butter Cheerio bars are also an excellent treat for peanut butter lovers like myself. For any leftovers, keep them in the fridge for an even quicker treat.

Enjoy gooey Cheerio squares any time with this grab-and-go treat. And eat as much as you can without feeling guilty. This easy homemade treat is surely a no-fuss. The best part is you can easily make these tasty cheerios bars using ingredients that you might already have on hand!

Ingredients

1/2 c. honey

3 c. Cheerios

3/4 c. peanut butter

How to make No-Bake Peanut Butter Cheerio Bars

Step 1: Using parchment paper or foil, line an 8 x 8-inch pan and set it aside.

Step 2: Heat the peanut butter and honey in a medium saucepan over medium heat until the peanut butter has melted and everything is well blended. Then, take the pan off the heat and stir in the Cheerios.

Step 3: Into the prepared pan, pour the mixture and press it into place. Cover and place in the fridge for at least an hour before slicing. You can store any leftovers in the fridge.

No-Bake Peanut Butter Cheerio Bars (3 Ingredients!)

Rebecca Servings: 9 These no-bake peanut butter Cheerio bars are made with just three simple ingredients (cheerios, peanut butter, and honey). Mix them all and let it sit for about an… General Recipes No-Bake Peanut Butter Cheerio Bars (3 Ingredients!) European Print This
Serves: 9
Nutrition facts: 200 calories 20 grams fat
Rating: 5.0/5
( 1 voted )

Ingredients

  • 1/2 c. honey
  • 3 c. Cheerios
  • 3/4 c. peanut butter

Instructions

Step 1: Using parchment paper or foil, line an 8 x 8-inch pan and set it aside.

Step 2: Heat the peanut butter and honey in a medium saucepan over medium heat until the peanut butter has melted and everything is well blended. Then, take the pan off the heat and stir in the Cheerios.

Step 3: Into the prepared pan, pour the mixture and press it into place. Cover and place in the fridge for at least an hour before slicing. You can store any leftovers in the fridge.

September 26, 2022 0 comment
0 FacebookTwitterPinterestEmail
General Recipes

Delicious & Healthy Chinese Egg Rolls

by Rebecca September 26, 2022
written by Rebecca

Cook time: 5 mins | Prep time: 20 mins | Serves: 6-8

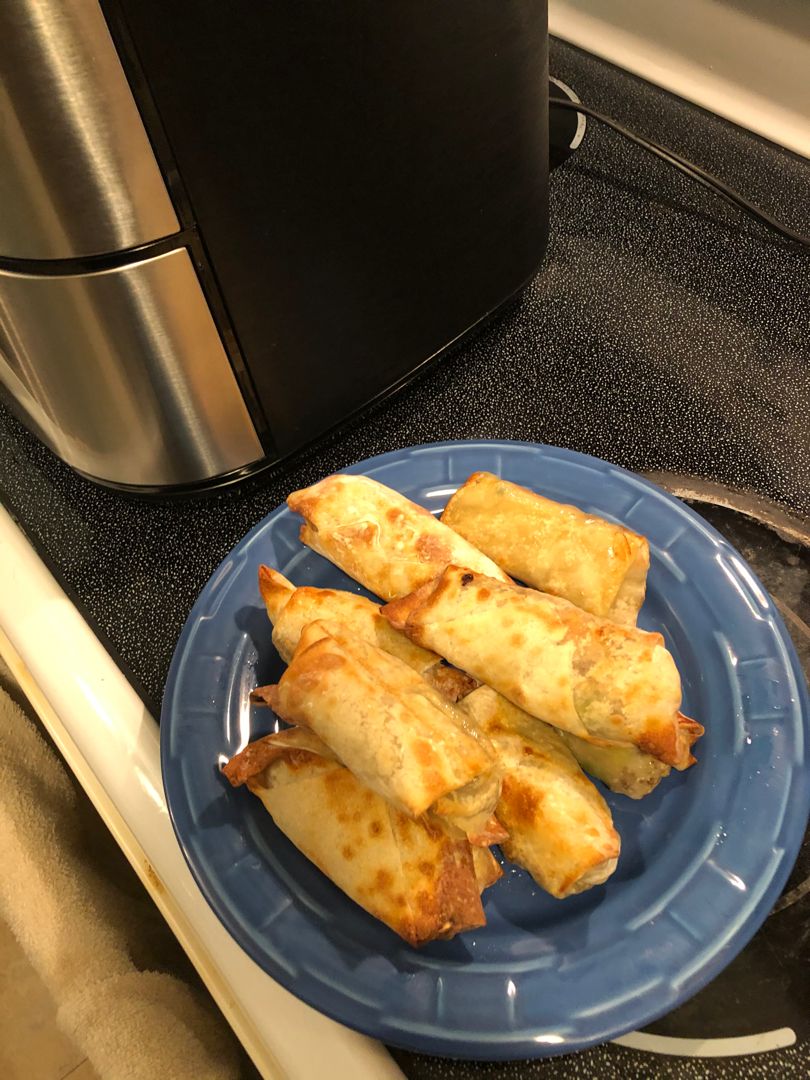
Chinese egg rolls are a favorite at home. To be able to easily make these egg rolls at home is such a fun experience! These egg rolls are filled with delicious meat and veggies and fried to crispy, golden perfection. If you love egg rolls, you’ll surely dig these delicious and healthy Chinese egg rolls! Serve these as appetizers or snacks with store-bought or homemade duck sauce.

Ingredients

1 pound ground pork

3 clove garlic, finely minced, or 1 teaspoon of garlic powder

15 egg roll wraps

1 small onion, chopped fine

1 tablespoon oyster sauce

1 teaspoon ginger in a tube

1-quart oil, for frying

5 cups packaged cabbage/coleslaw mix

2 eggs, scrambled and mashed up, optional

salt & pepper, to taste

How to make Delicious & Healthy Chinese Egg Rolls

Step 1: In a little oil, saute the onions until soft. Add the pork and continue to cook until golden brown and completely cooked. Stir in the garlic along with the ginger, salt, and pepper. Cook for a few seconds more, then add the oyster sauce. Stir well before adding the cabbage. Cook further until the cabbage is done to your preferred doneness. This takes another 3 to 5 minutes.

Step 2: Beginning with the corner nearest you, fill the egg roll wraps (add about 2 tbsp filling). Wet one end of the roll, then fold the sides until you reach the corner.

Step 3: In a skillet, heat the oil to 350 to 356 degrees. To the hot oil, place three egg rolls and fry, turning them until golden brown. Set the fried egg rolls aside on paper towels and repeat with the remaining egg rolls.

Step 4: Serve the egg rolls with a ready-made duck sauce. Or make your own by whisking apricot jam and light corn syrup. For an extra layer of flavor, you can add a little ginger to the homemade duck sauce. Enjoy!

Delicious & Healthy Chinese Egg Rolls

Rebecca Cook time: 5 mins | Prep time: 20 mins | Serves: 6-8 Chinese egg rolls are a favorite at home. To be able to easily make these egg rolls at… General Recipes Delicious & Healthy Chinese Egg Rolls European Print This
Serves: 6-8 Prep Time: 5 mins Cooking Time: 20 mins 20 mins
Nutrition facts: 200 calories 20 grams fat
Rating: 5.0/5
( 1 voted )

Ingredients

  • 1 pound ground pork
  • 3 clove garlic, finely minced, or 1 teaspoon of garlic powder
  • 15 egg roll wraps
  • 1 small onion, chopped fine
  • 1 tablespoon oyster sauce
  • 1 teaspoon ginger in a tube
  • 1-quart oil, for frying
  • 5 cups packaged cabbage/coleslaw mix
  • 2 eggs, scrambled and mashed up, optional
  • salt & pepper, to taste

Instructions

Step 1: In a little oil, saute the onions until soft. Add the pork and continue to cook until golden brown and completely cooked. Stir in the garlic along with the ginger, salt, and pepper. Cook for a few seconds more, then add the oyster sauce. Stir well before adding the cabbage. Cook further until the cabbage is done to your preferred doneness. This takes another 3 to 5 minutes.

Step 2: Beginning with the corner nearest you, fill the egg roll wraps (add about 2 tbsp filling). Wet one end of the roll, then fold the sides until you reach the corner.

Step 3: In a skillet, heat the oil to 350 to 356 degrees. To the hot oil, place three egg rolls and fry, turning them until golden brown. Set the fried egg rolls aside on paper towels and repeat with the remaining egg rolls.

Step 4: Serve the egg rolls with a ready-made duck sauce. Or make your own by whisking apricot jam and light corn syrup. For an extra layer of flavor, you can add a little ginger to the homemade duck sauce. Enjoy!

September 26, 2022 0 comment
0 FacebookTwitterPinterestEmail
General Recipes

Homemade French Onion Dip

by Rebecca September 26, 2022
written by Rebecca

Prep time: 5 mins | Inactive: 1 hr | Serves: 8

This homemade French Onion Dip is a great dish that is worth making! Once you’ve tried this I am sure that you’ll never buy the store-bought dip! Easily make this French Onion Dip from scratch using a few simple ingredients that you might already have on hand. All you need to do is combine all the ingredients, chill for at least an hour in the fridge, then serve with plain crinkle-cut potato crisp.

This homemade French Onion Dip is the ultimate dip! It is creamy with a wonderfully soft, creamy texture. The caramelized onions infused the dip with amazing flavor and natural sweetness. Store this dip for up to 4 to 5 days without the fear of loss of flavor. I agree that this dip is so much better the next day!

This homemade French Onion Dip has layers of amazing flavors with a dash of heat. I would never give this homemade version up with the bottled ones. The flavors are totally leveled up! And to be able to make this from scratch easily and quickly is a life changer!

I love French Onion Dip for years! I enjoy this dip with plain crinkle-cut potato chips. It’s my fave combo for movie nights, or even for late-night munching.

INGREDIENTS

1/4 c. dried minced onion

16 ounces sour cream

1 tsp onion powder

1/2 c. mayonnaise

1 tbsp Worcestershire sauce, plus more to taste

1/2 tsp parsley flakes

1/8 tsp paprika

1/8 tsp ground black pepper

1/2 tsp celery salt

Potato chips, for serving

Kosher salt, to taste

How to make Homemade French Onion Dip

Step 1: In a bowl, mix all the ingredients until well combined.

Step 2: Tent the bowl with plastic and place it in the fridge for at least an hour to chill.

Step 3: Serve the chilled dip with plain crinkle-cut potato chips. Enjoy!

Homemade French Onion Dip

Rebecca Prep time: 5 mins | Inactive: 1 hr | Serves: 8 This homemade French Onion Dip is a great dish that is worth making! Once you’ve tried this I am… General Recipes Homemade French Onion Dip European Print This
Serves: 8 Prep Time: 5 mins
Nutrition facts: 200 calories 20 grams fat
Rating: 5.0/5
( 1 voted )

Ingredients

  • 1/4 c. dried minced onion
  • 16 ounces sour cream
  • 1 tsp onion powder
  • 1/2 c. mayonnaise
  • 1 tbsp Worcestershire sauce, plus more to taste
  • 1/2 tsp parsley flakes
  • 1/8 tsp paprika
  • 1/8 tsp ground black pepper
  • 1/2 tsp celery salt
  • Potato chips, for serving
  • Kosher salt, to taste

Instructions

Step 1: In a bowl, mix all the ingredients until well combined.

Step 2: Tent the bowl with plastic and place it in the fridge for at least an hour to chill.

Step 3: Serve the chilled dip with plain crinkle-cut potato chips. Enjoy!

September 26, 2022 0 comment
0 FacebookTwitterPinterestEmail
Newer Posts
Older Posts

Popular Posts

  • 1

    Crispy Crunchy Parmesan Potatoes

    March 21, 2020
  • 2

    CROCK POT SMOTHERED PORK CHOPS

    March 21, 2020
  • Facebook
  • Twitter

@2019 - All Right Reserved.


Back To Top