When I first made this dish it got me really excited. I mean no one can get wrong with potatoes, chicken, gooey cheese, and bacon. This definitely an all-in-one meal for the whole family to enjoy. It’s a heaven on a plate! So if you want an easy and filling dinner, this is all you need. This is a must-have; deliciously satisfying, and even picky eaters will love this. So have a plateful of this chicken bacon ranch potato bake, pair it with a crisp, green salad and enjoy!
Please PIN THIS RECIPE TO any Relevant boards on your Pinterest (Appetizer, Dinner, etc…) To SAVE it for later…
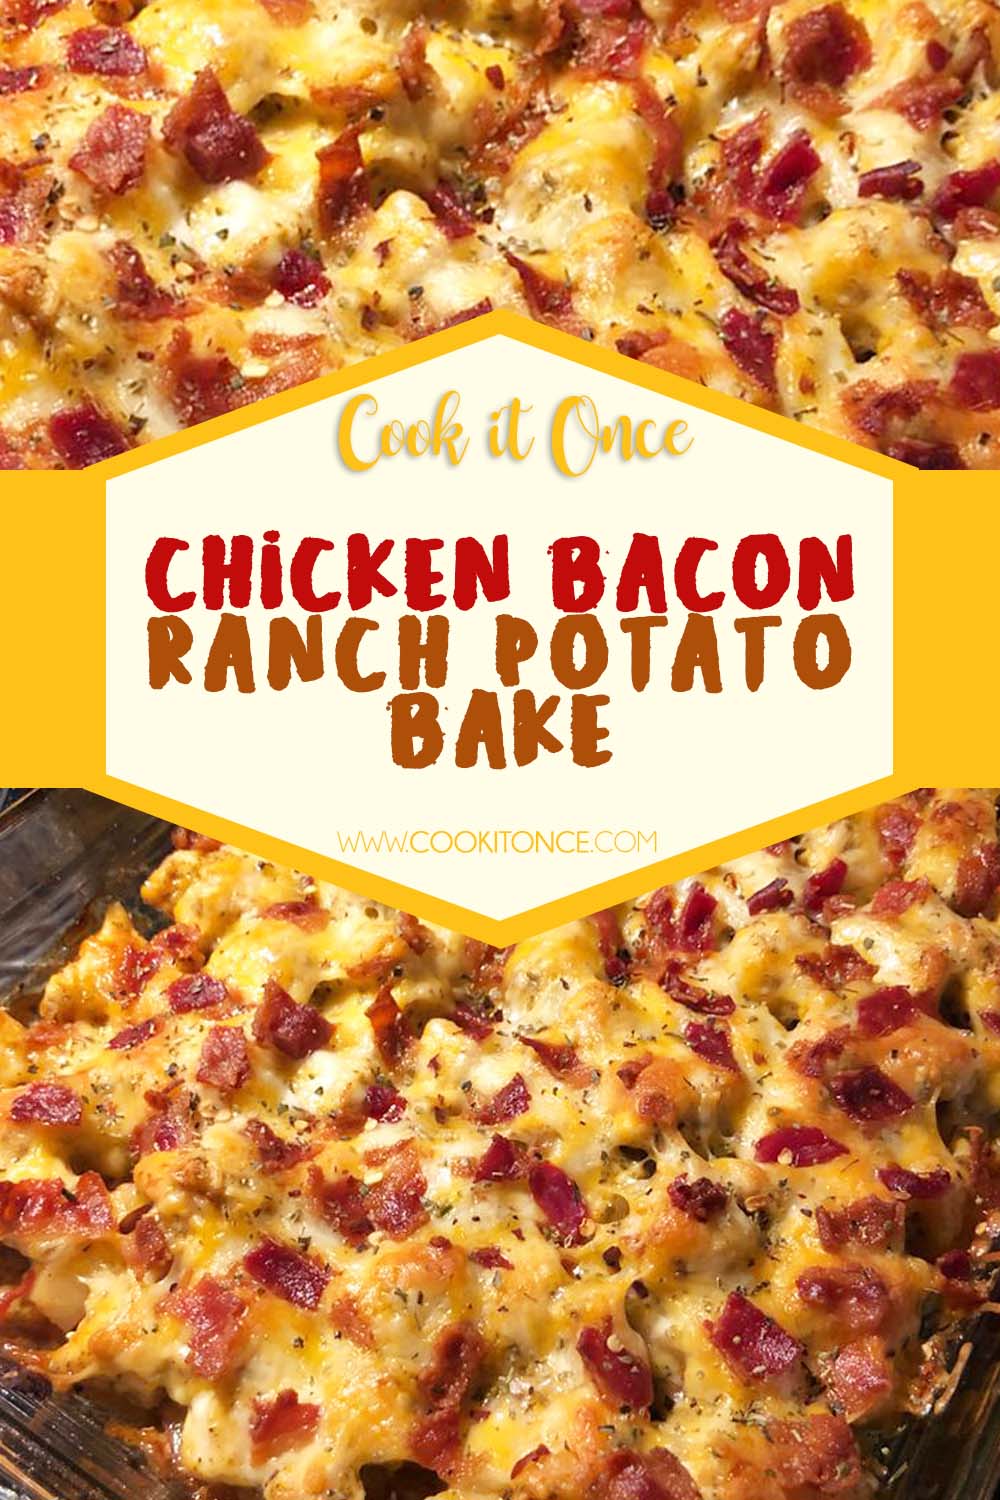
Chicken Bacon Ranch Potato Recipe
INGREDIENTS
1/2 cup olive oil
1 tsp salt
1 ranch dressing mix (dry powder)
14 medium potatoes, cubed
3 chicken breast, cubed
2 1/2 cup shredded cheese
1 cup crumbled bacon
1 cup green onions, chopped
1 tsp black pepper
HOW TO MAKE CHICKEN BACON RANCH POTATO BAKE
Step 1: Prepare the oven by preheating it to 500 degrees F.
Step 2: Grease or spray a 9 x 12-inch baking dish with cooking spray.
Step 3: Combine the oil, salt, pepper, and ranch dressing mix in a large bowl.
Step 4: Then, add in the potatoes and thoroughly toss along with the oil mixture.
Step 5: Pour the potatoes into the greased baking dish leaving as much oil mixture behind as possible.
Step 6: Roast the potatoes in the preheated oven for about an hour until crispy while stirring every 15 minutes.
Step 7: Cut the raw chicken into bite-size cube and add it to the oil mixture. Toss well.
Step 8: Mix the cheese, bacon, and onion in a separate bowl.
Step 9: Check to see if the potatoes are crispy and remove from the oven. Adjust the oven temperature to 400 degrees F.
Step 10: Place the raw chicken and cheese mixture on top of the potatoes.
Step 11: Place inside the oven and bake for another 15 to 20 minutes.
Step 12: Let it cool for 10 minutes and serve with sour cream or ranch dressing. Enjoy!

Ingredients
- 1/2 cup olive oil
- 1 tsp salt
- 1 ranch dressing mix (dry powder)
- 14 medium potatoes, cubed
- 3 chicken breast, cubed
- 2 1/2 cup shredded cheese
- 1 cup crumbled bacon
- 1 cup green onions, chopped
- 1 tsp black pepper
Instructions
Step 1: Prepare the oven by preheating it to 500 degrees F.
Step 2: Grease or spray a 9 x 12-inch baking dish with cooking spray.
Step 3: Combine the oil, salt, pepper, and ranch dressing mix in a large bowl.
Step 4: Then, add in the potatoes and thoroughly toss along with the oil mixture.
Step 5: Pour the potatoes into the greased baking dish leaving as much oil mixture behind as possible.
Step 6: Roast the potatoes in the preheated oven for about an hour until crispy while stirring every 15 minutes.
Step 7: Cut the raw chicken into bite-size cube and add it to the oil mixture. Toss well.
Step 8: Mix the cheese, bacon, and onion in a separate bowl.
Step 9: Check to see if the potatoes are crispy and remove from the oven. Adjust the oven temperature to 400 degrees F.
Step 10: Place the raw chicken and cheese mixture on top of the potatoes.
Step 11: Place inside the oven and bake for another 15 to 20 minutes.
Step 12: Let it cool for 10 minutes and serve with sour cream or ranch dressing. Enjoy!