Please PIN THIS RECIPE TO any Relevant boards on your Pinterest (Soups, Dinner, Lunch, etc…) To SAVE it for later…
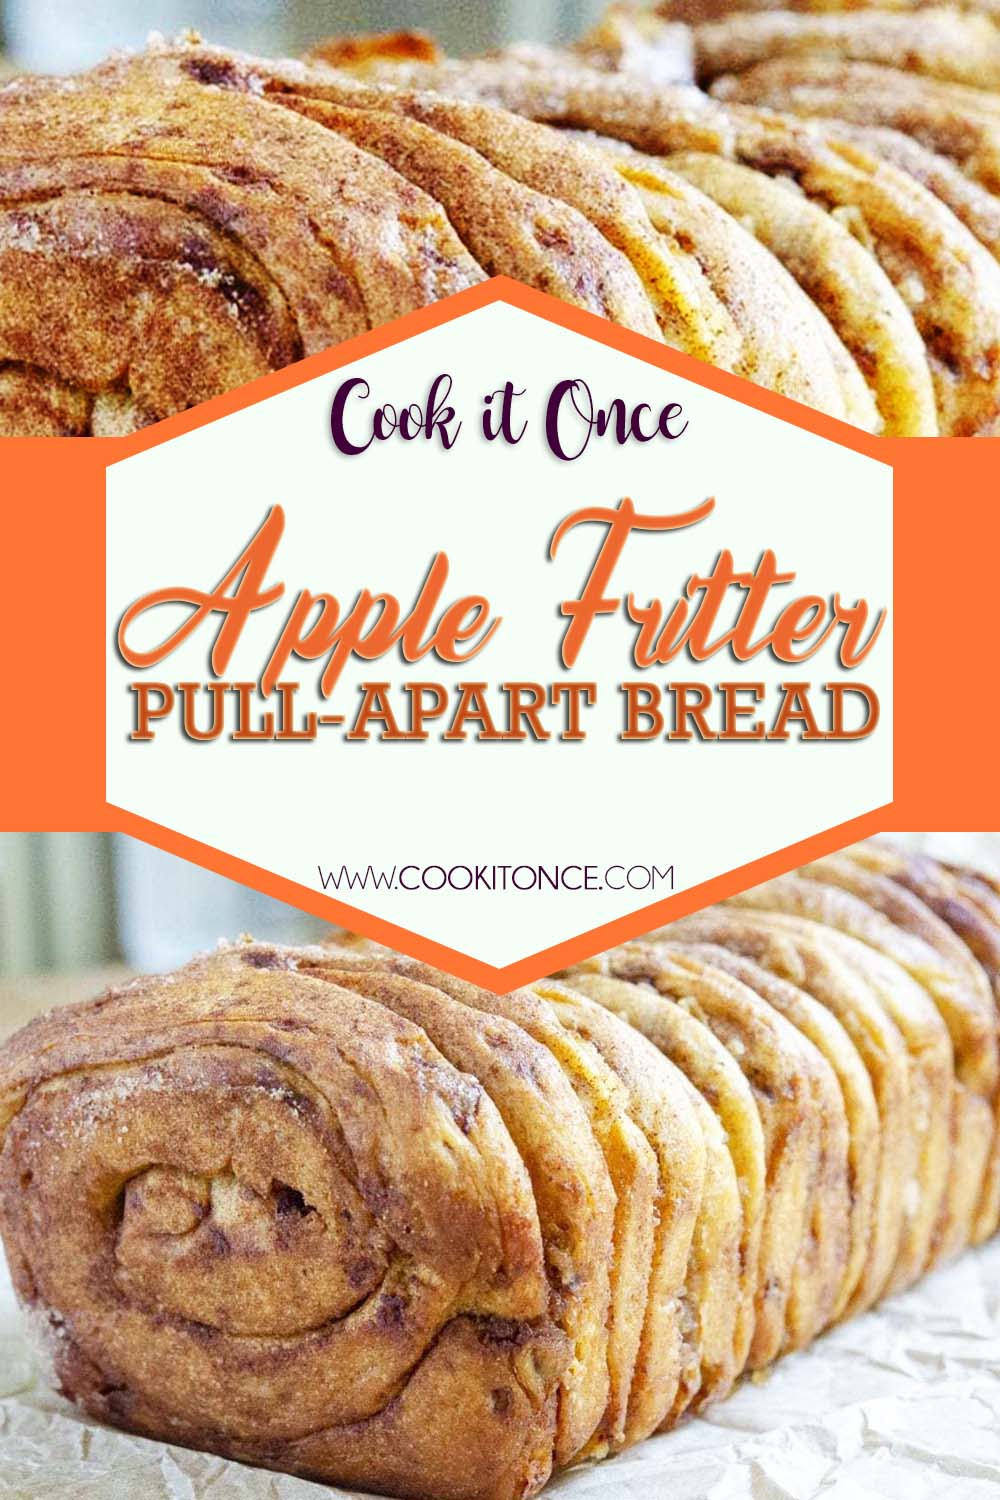
Apple Fritter Recipe
INGREDIENTS
2 (8 count) packages of cinnamon rolls
1/2 cup (1 stick) unsalted butter, softened
1/2 teaspoon vanilla extract
2 large Granny Smith apples, peeled and grated
2 teaspoons cinnamon
1/3 cup granulated sugar
For the glaze:
1/2 cup powdered sugar
1-3 tablespoons cream
PREPARATION
Preheat the oven to 350°F and oil a portion dish with margarine or nonstick spray. Put in a safe spot.
Remove the cinnamon rolls and icing from the bundle. Dispose of icing or put in a safe spot for another use.
Take every cinnamon roll and stretch it out until it turns out to be level like a hotcake and spread them out on a material paper-lined surface.
In a little bowl, whisk together the spread and vanilla until joined. Spread the margarine blend equally over each smoothed cinnamon roll and afterward top with ground apples.
In a different bowl, combine the sugar and cinnamon and sprinkle over the apples.
Lay cinnamon in piles of 3 or 4. When all rolls are stacked, move each stack to the portion dish, standing them on end so no apple filling contacts the parts of the bargains.
Cover tightly with foil for 35 minutes. Then remove the foil and bake for 15-20 minutes more.
Remove to a wire rack and let cool 10 minutes before removing from skillet.
While portion cools, make the coating by blending powdered sugar in with 1 to 3 tablespoons of milk or cream until wanted consistency is reached.

Ingredients
- 2 (8 count) packages of cinnamon rolls
- 1/2 cup (1 stick) unsalted butter, softened
- 1/2 teaspoon vanilla extract
- 2 large Granny Smith apples, peeled and grated
- 2 teaspoons cinnamon
- 1/3 cup granulated sugar
- For the glaze:
- 1/2 cup powdered sugar
- 1-3 tablespoons cream
Instructions
Preheat the oven to 350°F and oil a portion dish with margarine or nonstick spray. Put in a safe spot.
Remove the cinnamon rolls and icing from the bundle. Dispose of icing or put in a safe spot for another use.
Take every cinnamon roll and stretch it out until it turns out to be level like a hotcake and spread them out on a material paper-lined surface.
In a little bowl, whisk together the spread and vanilla until joined. Spread the margarine blend equally over each smoothed cinnamon roll and afterward top with ground apples.
In a different bowl, combine the sugar and cinnamon and sprinkle over the apples.
Lay cinnamon in piles of 3 or 4. When all rolls are stacked, move each stack to the portion dish, standing them on end so no apple filling contacts the parts of the bargains.
Cover tightly with foil for 35 minutes. Then remove the foil and bake for 15-20 minutes more.
Remove to a wire rack and let cool 10 minutes before removing from skillet.
While portion cools, make the coating by blending powdered sugar in with 1 to 3 tablespoons of milk or cream until wanted consistency is reached.


")
")